The Quest for the Perfect Crunch: Mastering Homemade Gluten-Free Biscoff Cookies
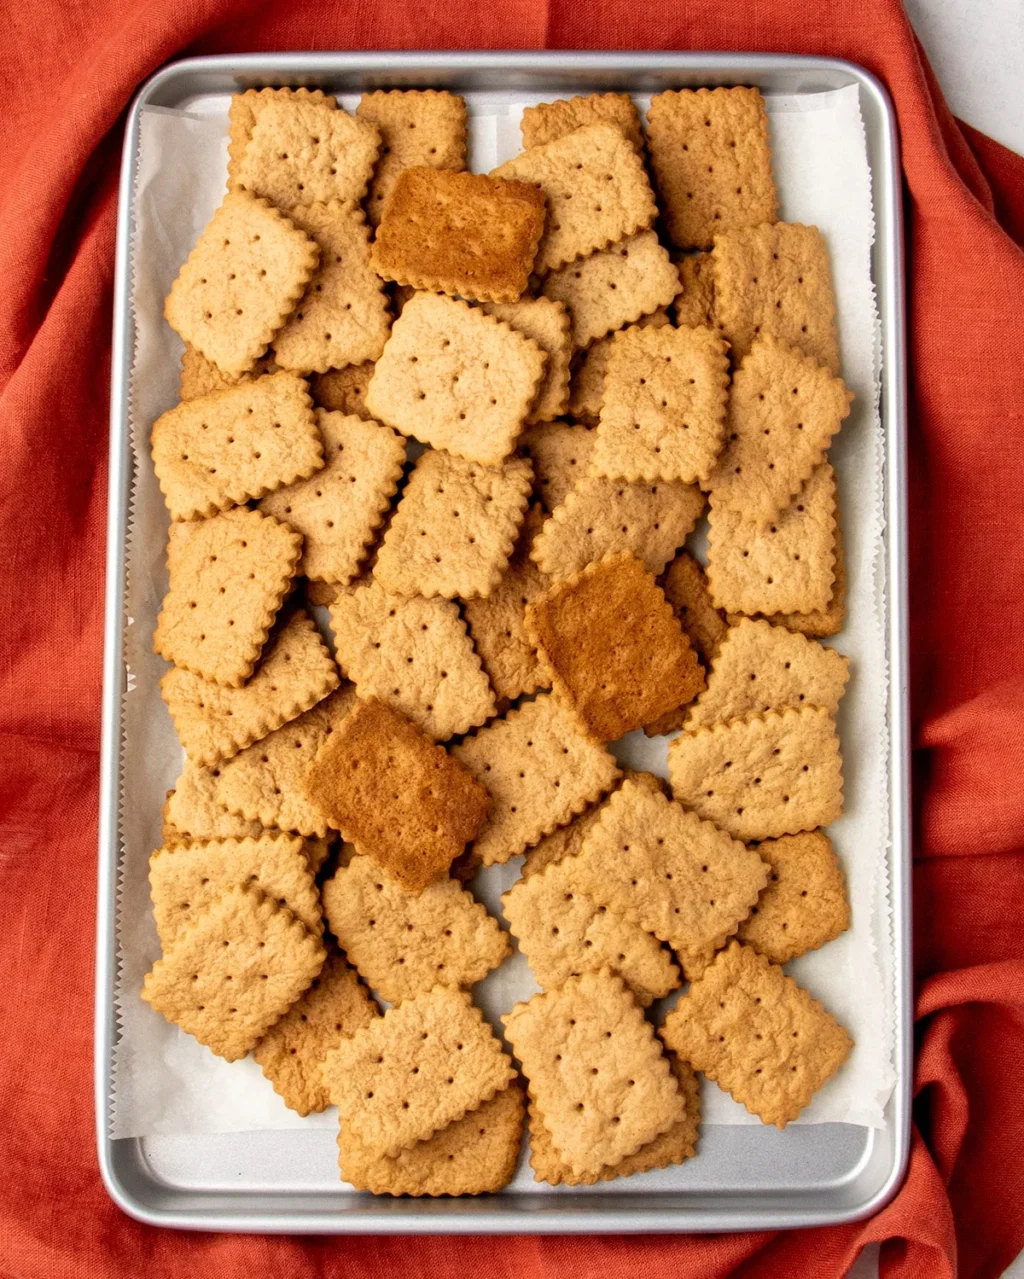
For those navigating a gluten-free lifestyle, the loss of certain iconic snacks can feel like a genuine culinary bereavement. Among the most missed items are the thin, caramelized, spice-forward biscuits known as Biscoff. Originating from the Belgian tradition of speculoos, these cookies are defined by their signature snap, deep brown-sugar undertones, and a sophisticated blend of warming spices that pair perfectly with a morning coffee or an afternoon tea.
While the commercial market has seen an explosion in gluten-free alternatives for classic snacks, Lotus Bakeries—the original manufacturer of the beloved Biscoff—has yet to introduce a gluten-free version to their global lineup. Consequently, home bakers have been left to their own devices, attempting to reverse-engineer that elusive, caramelized crunch without the structural integrity provided by wheat flour.
This guide explores the definitive method for creating high-quality, gluten-free Biscoff-style cookies at home, ensuring that those with dietary restrictions no longer have to compromise on texture or flavor.
Main Facts: The Science of the "Speculoos" Snap
The secret to a successful Biscoff cookie lies in the balance of three specific factors: hydration, sugar caramelization, and spice profiles. Unlike many standard cookie recipes that rely on eggs for lift and structure, traditional Biscoff cookies are essentially a crisp, sturdy dough that relies on a precise fat-to-sugar ratio to achieve their characteristic snap.
Key Nutritional and Compositional Highlights
- The Sugar Base: A blend of granulated and brown sugars is essential. The molasses content in the brown sugar provides the deep, amber color and that quintessential "toasted" flavor profile.
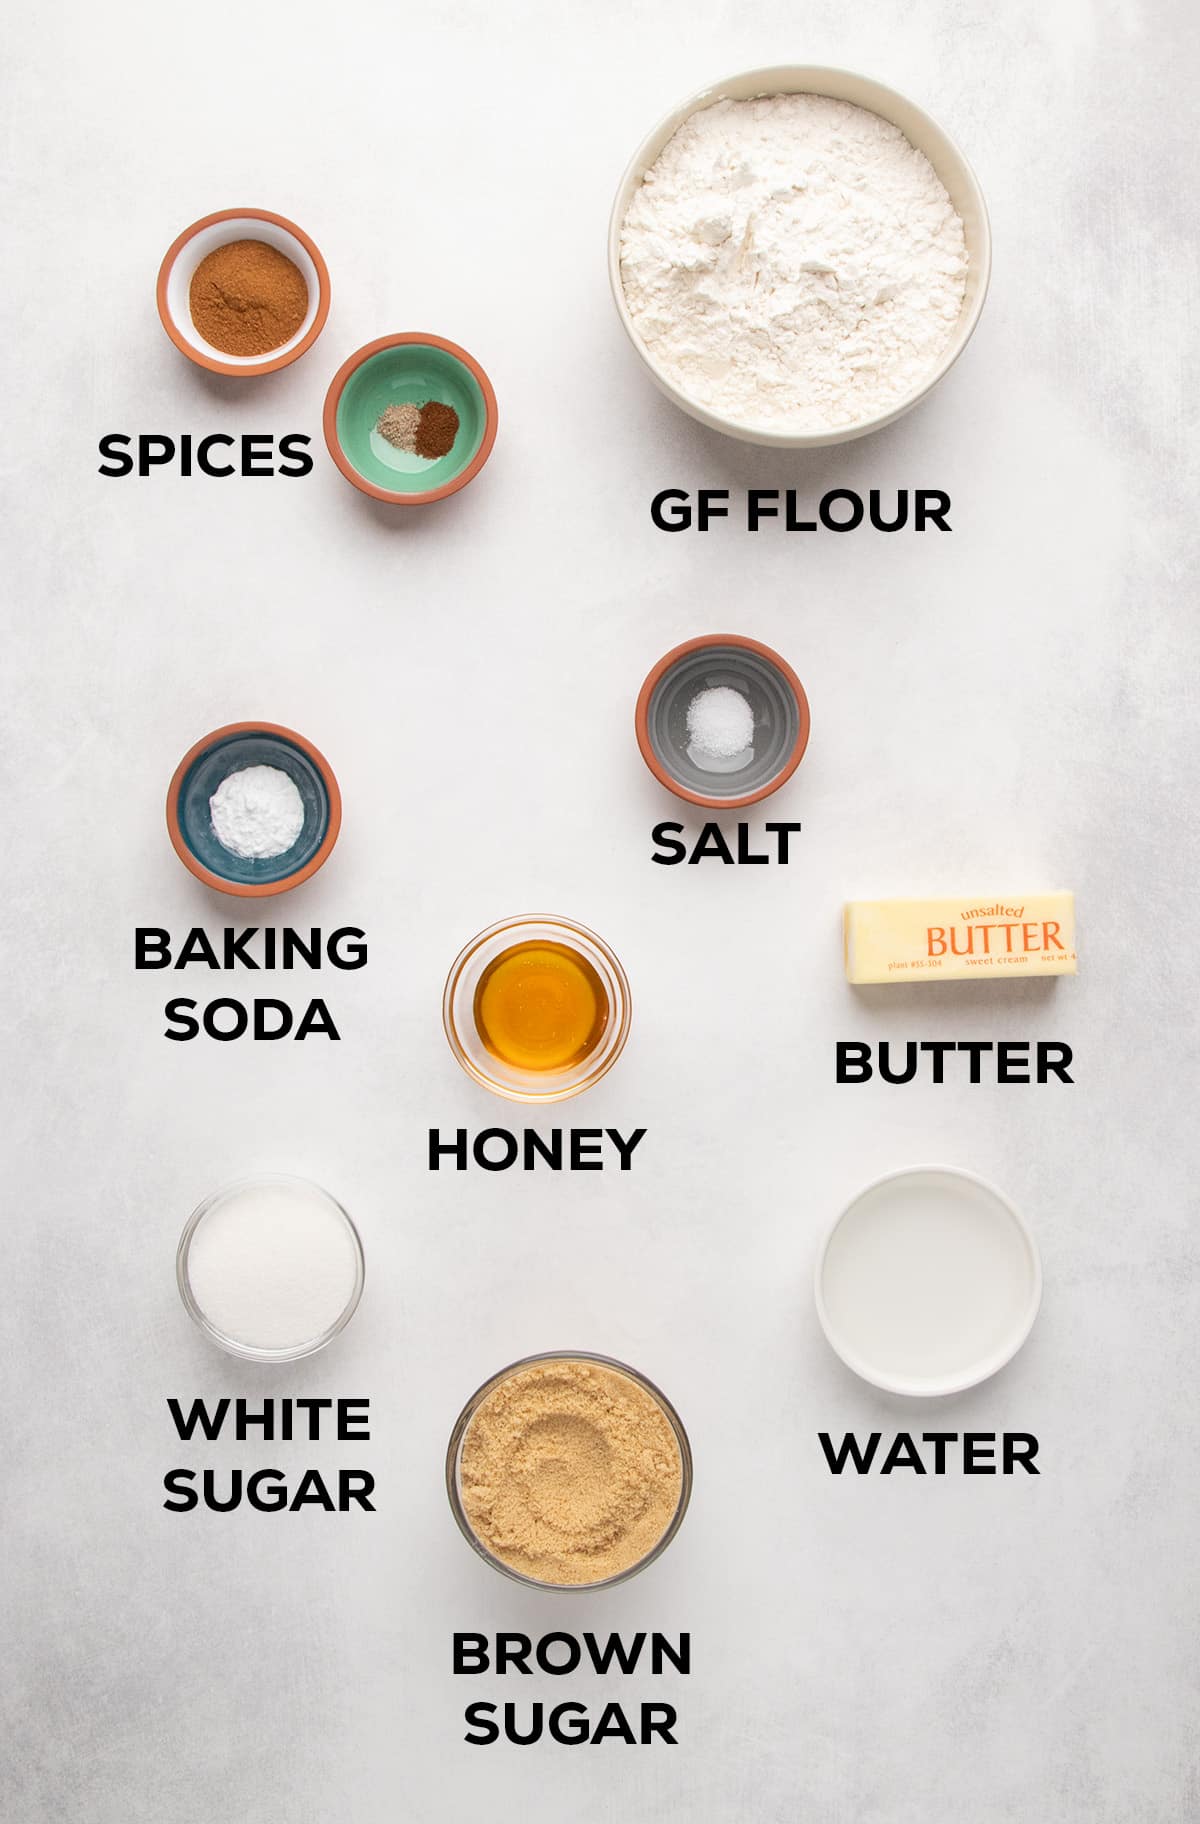
- The Spice Palette: The distinct aroma is achieved through a specific quartet: cinnamon, nutmeg, allspice, and cloves. Cardamom is often the "secret" ingredient that lifts the flavor, providing a complex floral note that prevents the cookie from tasting like a generic gingersnap.
- Texture Control: Because the goal is a thin, crisp cookie, the dough must be rolled to roughly 1/8-inch thickness. A thicker cookie will result in a soft, cake-like texture rather than the intended brittle, satisfying crunch.
Chronology: A Step-by-Step Culinary Workflow
To achieve professional-grade results without a food processor or complex machinery, the following methodology is recommended. The dough is designed to be handled by hand, eliminating the need for extensive chilling times.
1. Preparing the Dry Foundation
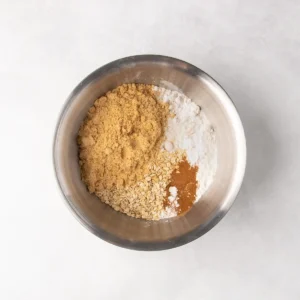
Begin by whisking your gluten-free flour blend with the leavening agents (baking soda), salt, and the aromatic spice blend. It is critical to ensure the xanthan gum is well-distributed if your chosen flour blend does not already contain it. This uniformity prevents "bitter pockets"—small, concentrated clumps of baking soda that can ruin a batch.
2. Incorporating the Fat
The butter should be cubed and cold. By tossing the cubes into the dry ingredients and using the tines of a fork to "cut" them in, you achieve a sandy, coarse texture. This process mimics the technique used for pie crusts, which is vital for creating a delicate, flaky crumb rather than a dense, doughy biscuit.
3. Binding the Dough
Add water and honey. Honey acts as a humectant and a sweetener that aids in the browning process. The dough should be thick and pliable. If the dough feels fragile or "weeping," it is likely over-hydrated. A simple fix is to fold in an additional tablespoon of flour and knead it gently until the surface tension of the dough is smooth.
4. Rolling and Shaping
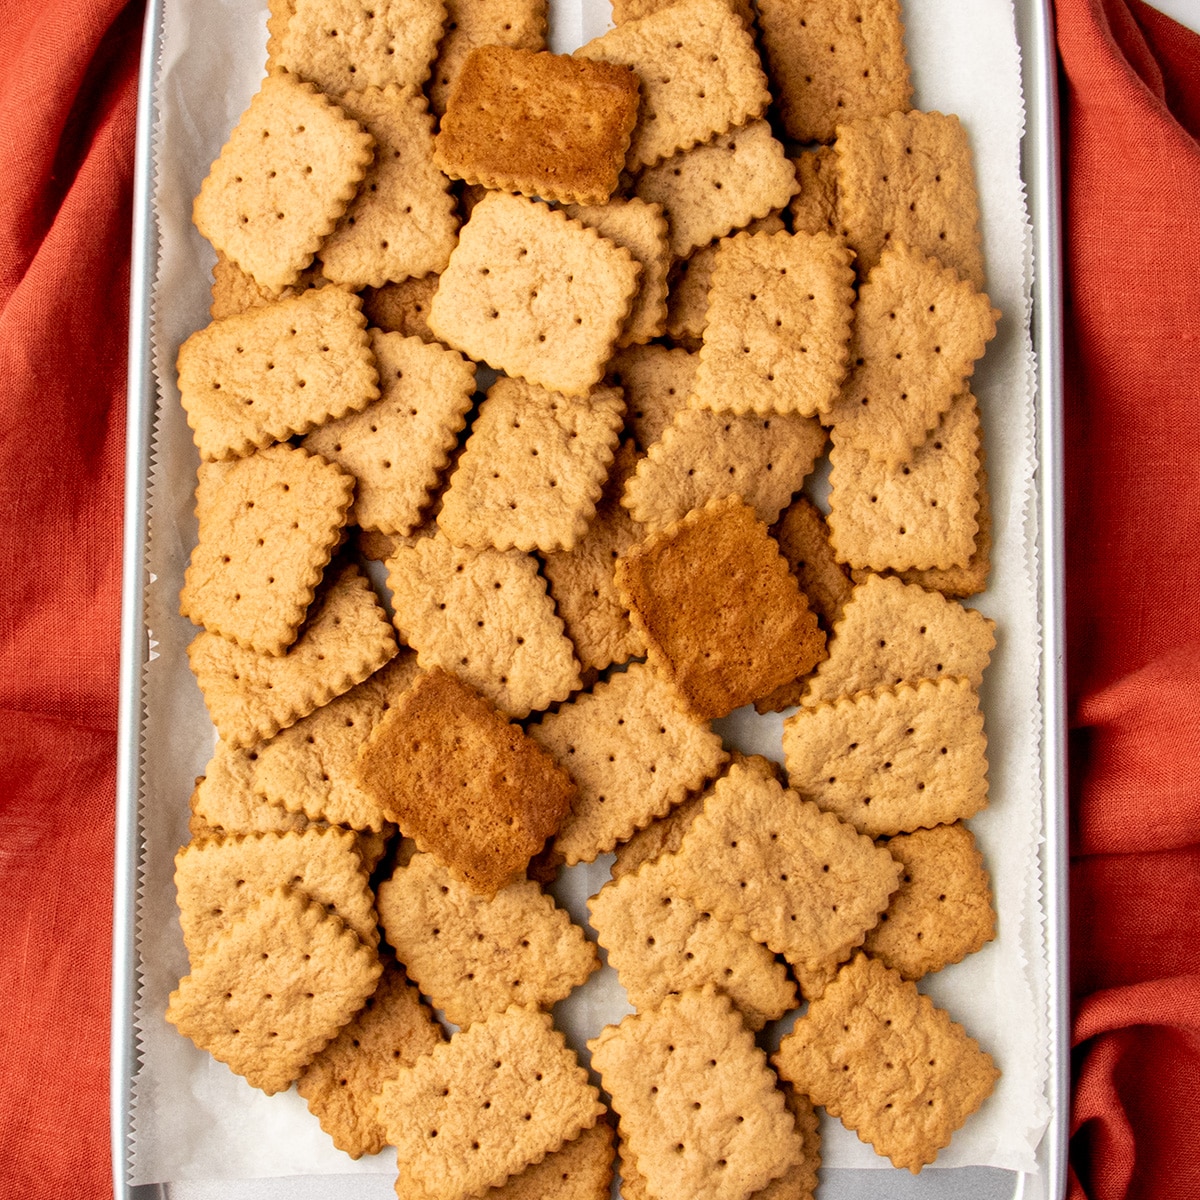
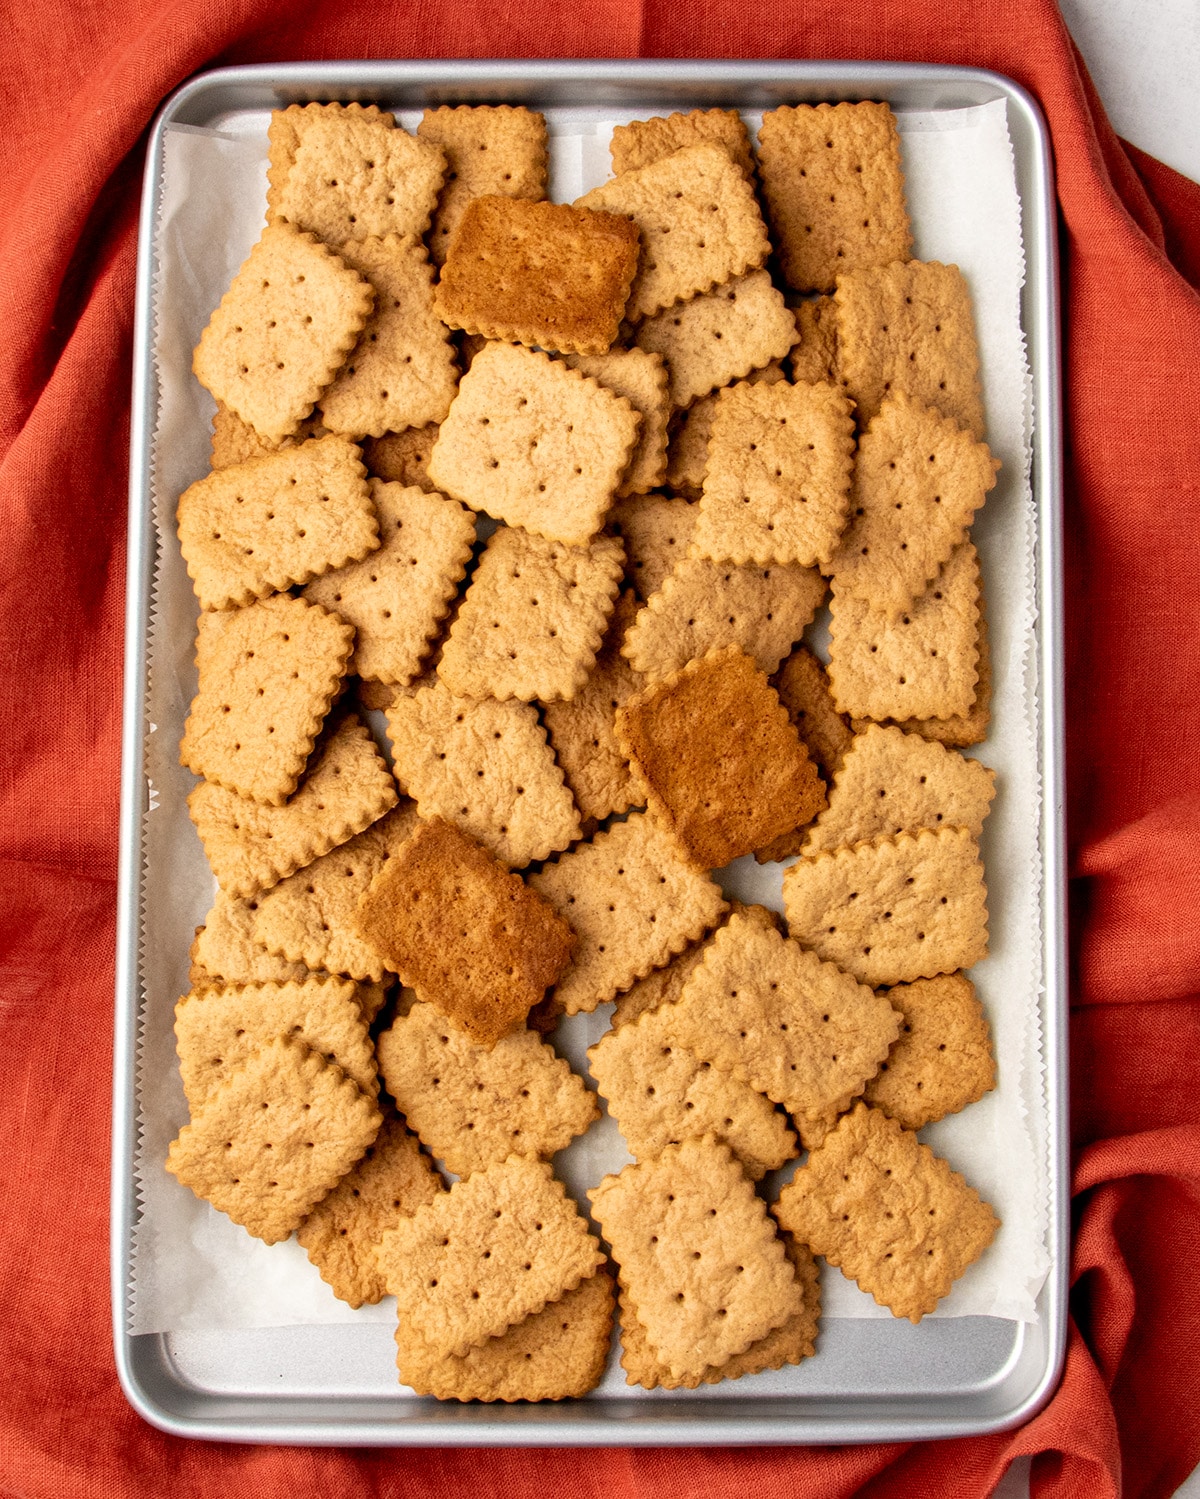
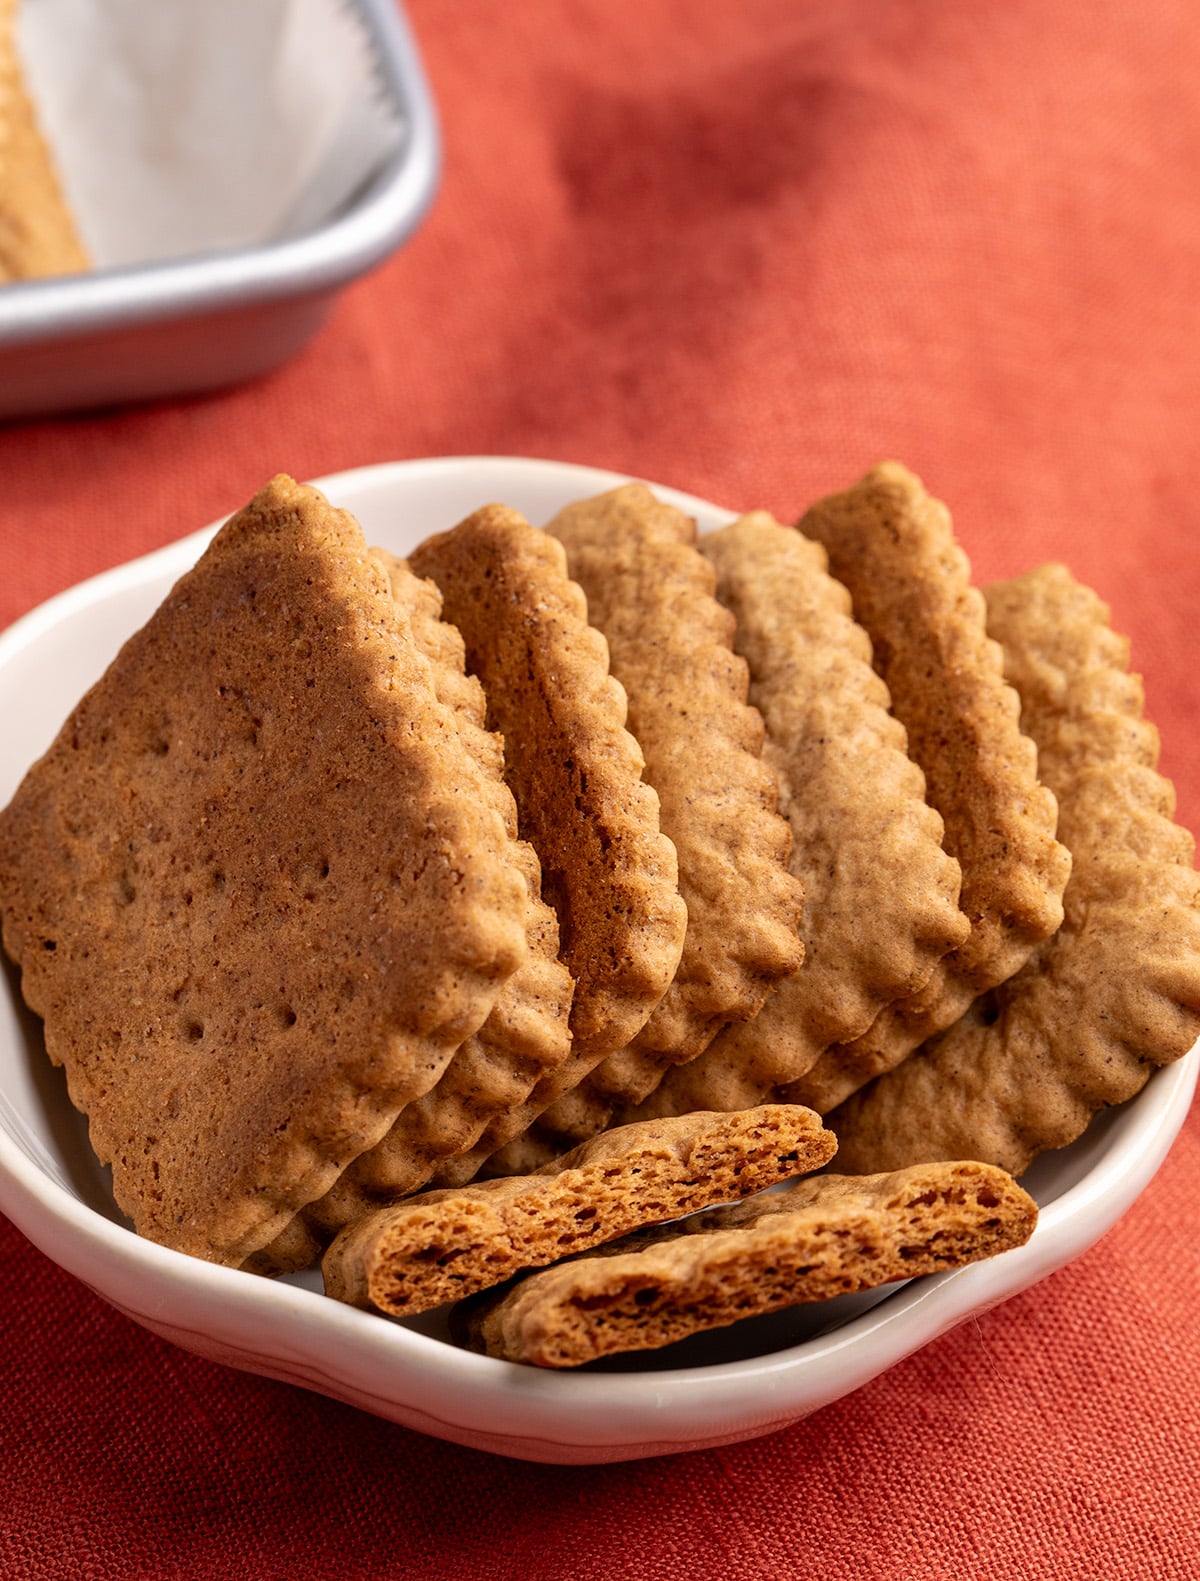
For consistent results, divide the dough into two manageable halves. Roll each half on a lightly floured surface to a consistent 1/8-inch thickness. Use a rectangle-shaped cutter or a pizza wheel to create uniform pieces. If the cookies are to look authentic, use a toothpick to poke 5–6 small holes in the surface of each rectangle; this prevents air bubbles from expanding unevenly during the bake.
5. The Baking Process
Bake at 350°F (175°C). The cookies require approximately 15 minutes. Note that they will appear slightly lighter in color as they bake, but they should be firm to the touch. The "crisp" factor is actually achieved during the cooling process, not inside the oven. Allow the cookies to rest on a wire rack until completely cool.
Supporting Data: Flour Blends and Allergen Management
The success of this recipe is highly dependent on the flour blend used. Not all gluten-free flours are created equal.
Recommended Flour Profiles
- Better Batter Original: This blend is highly recommended for its stability and ability to mimic the elasticity of wheat-based doughs.
- Nicole’s Best Multipurpose: An excellent alternative, provided that 1 teaspoon of xanthan gum is added to ensure the cookie doesn’t crumble upon the first bite.
- Bob’s Red Mill 1-to-1: A widely available option, though it is recommended to supplement this blend with an additional 1/4 teaspoon of xanthan gum to provide the necessary structure for a thin, crisp cookie.
Allergen Substitutions
- Dairy-Free: Block-style vegan butter (such as Miyoko’s) performs the best. Avoid soft tub margarines, which contain too much water and will prevent the cookie from crisping.
- Honey-Free: Maple syrup can be substituted for honey, though it may require a slight reduction in water usage to maintain the dough’s consistency.
Official Perspectives: The Professional Baker’s Stance
Nicole Hunn, a recognized expert in the gluten-free baking community, emphasizes that the primary barrier for home bakers is the misconception that "gluten-free" equates to "sub-par."
"The goal," Hunn notes, "is to create a product that stands on its own merits. When we talk about recreating iconic snacks, we are looking for that specific sensory experience—the snap, the scent, and the finish. If you have to tell someone it’s gluten-free after they’ve eaten it, you’ve succeeded."
This philosophy underscores the importance of the technical steps in the recipe: the precision of the spice ratio and the physical handling of the dough. By treating the gluten-free flour with the same care and respect as traditional pastry flour, the baker can bypass the common pitfalls of dry, sandy, or flavorless results.
Implications: Beyond the Cookie Jar
The impact of mastering this recipe extends beyond simple snacking. Because these cookies are highly shelf-stable—keeping for up to two weeks in a sealed glass container—they become an incredibly versatile ingredient in the gluten-free kitchen.
The "Biscoff Spread" Revolution
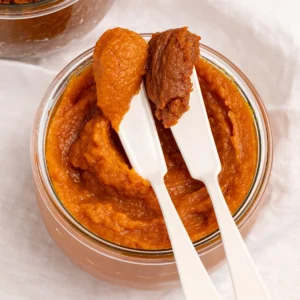
Perhaps the most exciting implication of this recipe is the ability to turn the cookies into a homemade, gluten-free cookie butter. By grinding 5 ounces of the finished cookies into a fine crumb and blending them with brown sugar, a pinch of baking soda, salt, tapioca starch, and melted vegetable shortening, one can recreate the viral cookie butter spread that has taken the culinary world by storm.
Storage and Longevity
For those looking to prepare in bulk, these cookies freeze exceptionally well. By storing them in tempered glass containers with minimal headspace, they can last up to three months. While they may lose a negligible amount of their initial "fresh-baked" crispness, a quick stint in a warm oven (300°F for 3–5 minutes) will restore their structural integrity, making them an ideal pantry staple for the gluten-free household.
Final Thoughts
The journey to replicating the Biscoff cookie is a testament to the evolution of gluten-free baking. It is no longer just about avoiding wheat; it is about reclaiming the joy of traditional flavors through refined, thoughtful, and accessible techniques. By following the scientific principles of hydration and ingredient selection, home bakers can ensure that their kitchen remains a place of indulgence, regardless of dietary requirements. Whether served with an espresso or transformed into a decadent spread, these cookies represent a triumph of home-baking innovation.