Mastering the Art of the "Pour Shot": A Professional Guide to Dynamic Food Photography
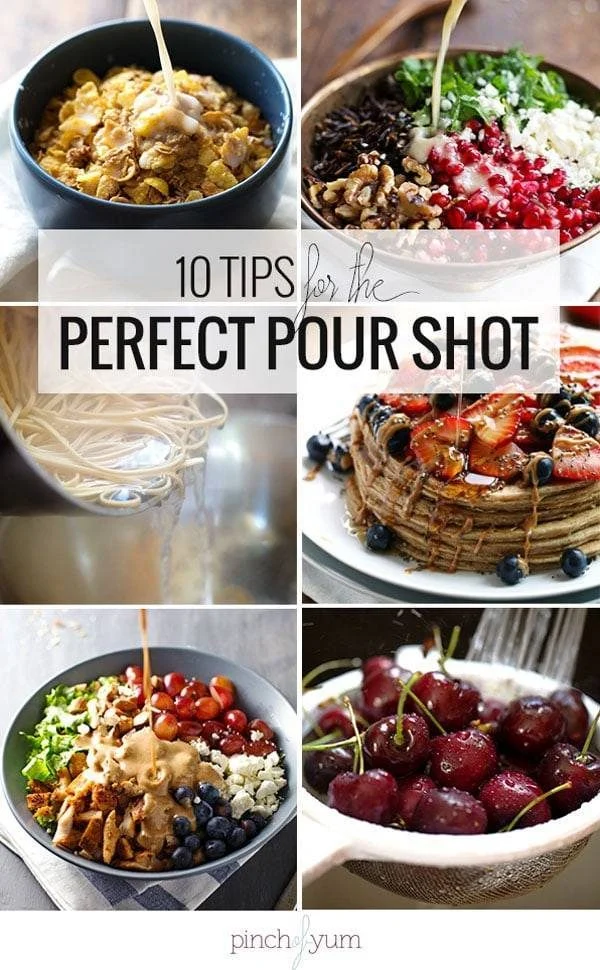
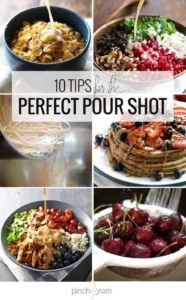
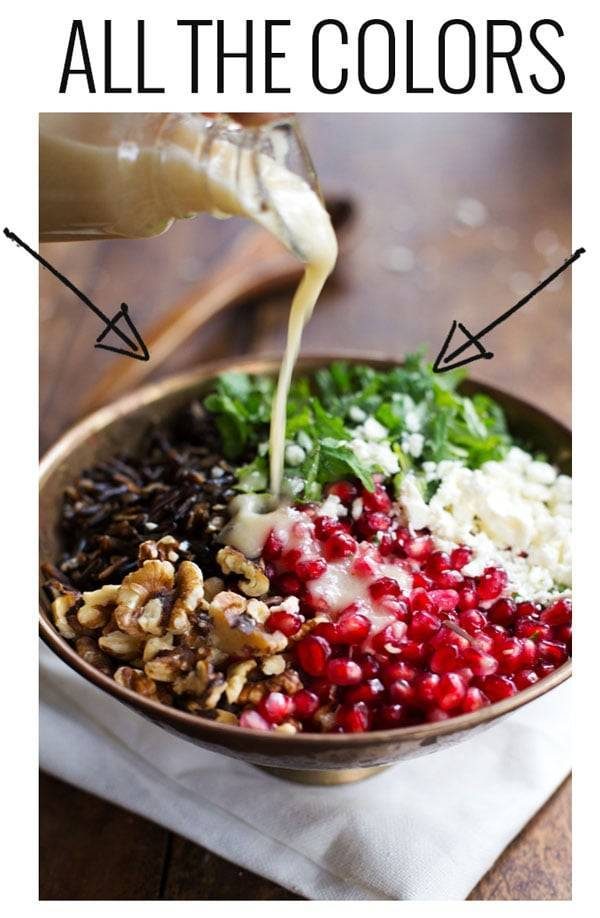
In the competitive landscape of digital food media, the "pour shot"—that ephemeral, high-energy image of sauce, dressing, or milk cascading over a dish—has become the gold standard for engagement. These images offer a tactile, multisensory experience that static plating simply cannot match. However, beneath the polished, viral-worthy aesthetic of a perfectly captured drizzle lies a rigorous technical process that demands more than just a camera and a recipe.
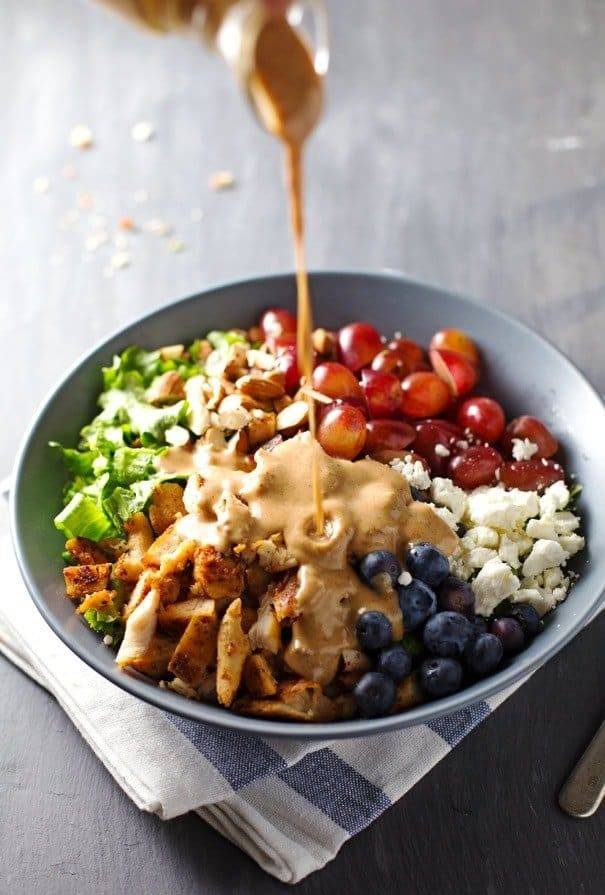
For many content creators, the journey to mastering the pour shot is paved with thousands of failed attempts, stained tablecloths, and hours of post-production frustration. This article deconstructs the essential techniques, professional considerations, and the reality of the trial-and-error process behind these complex images.
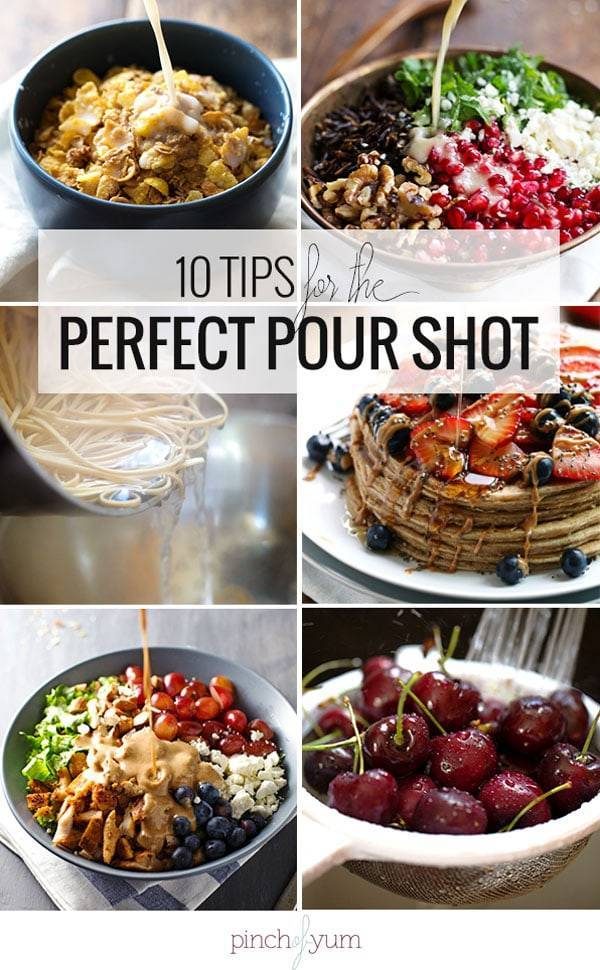
The Anatomy of a Successful Pour Shot
The allure of a pour shot is undeniable: it suggests movement, freshness, and the immediate consumption of the dish. Achieving this requires a harmonious blend of equipment, timing, and environmental control.
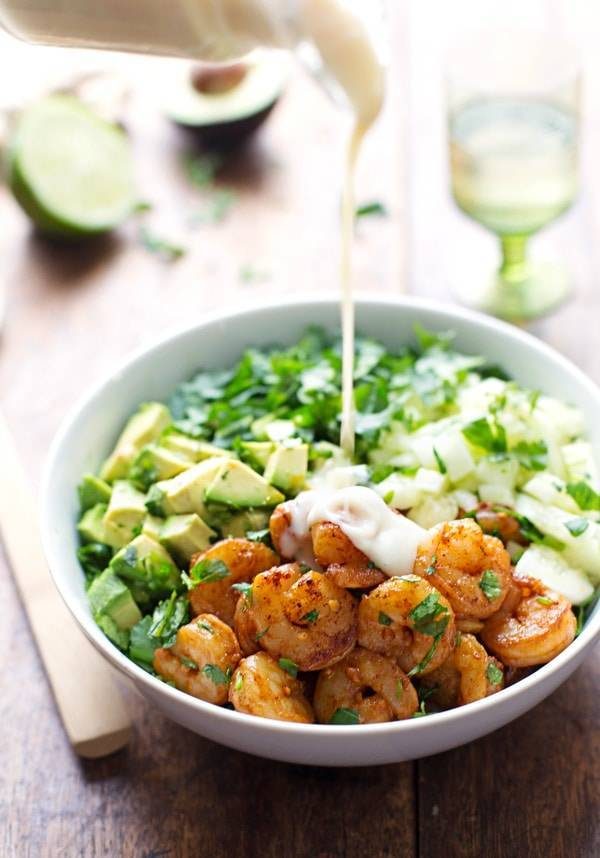
Chronology of the Process: From Setup to Capture
The creation of a professional pour shot typically follows a standard operational sequence:
- Staging and Lighting: Before the first drop of sauce is poured, the lighting must be set to account for the speed of the action. High-speed movement requires significant light to maintain image clarity.
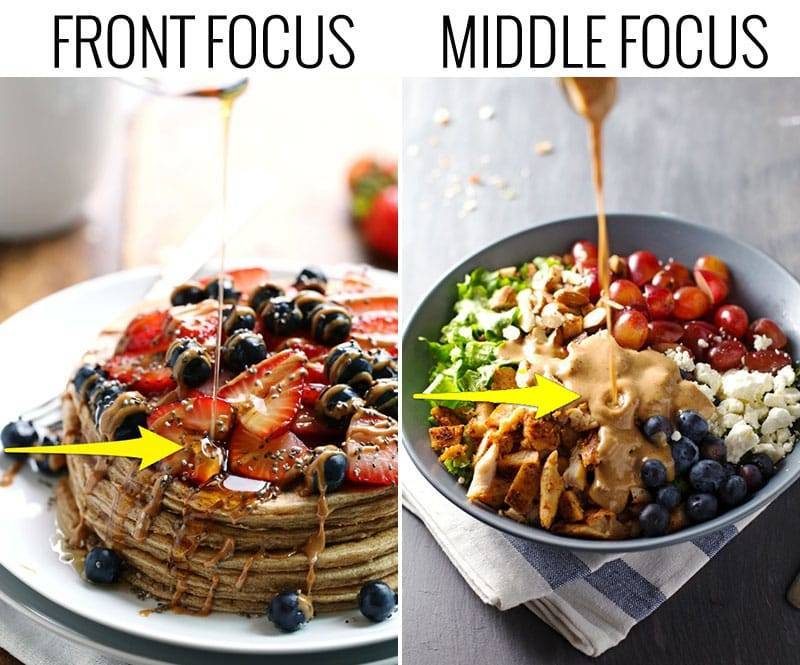
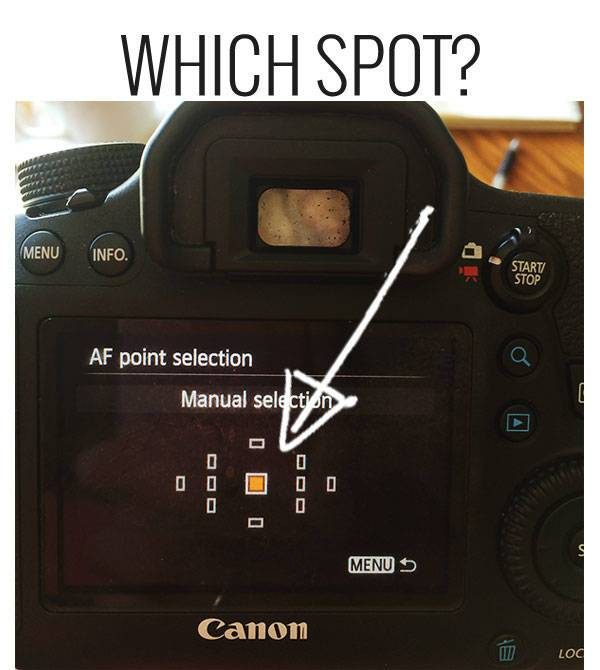
- Focus Calibration: Whether using a tripod or hand-holding, the focal plane must be established. Professionals often manually select the focal point to ensure the camera tracks the liquid’s path rather than the background.
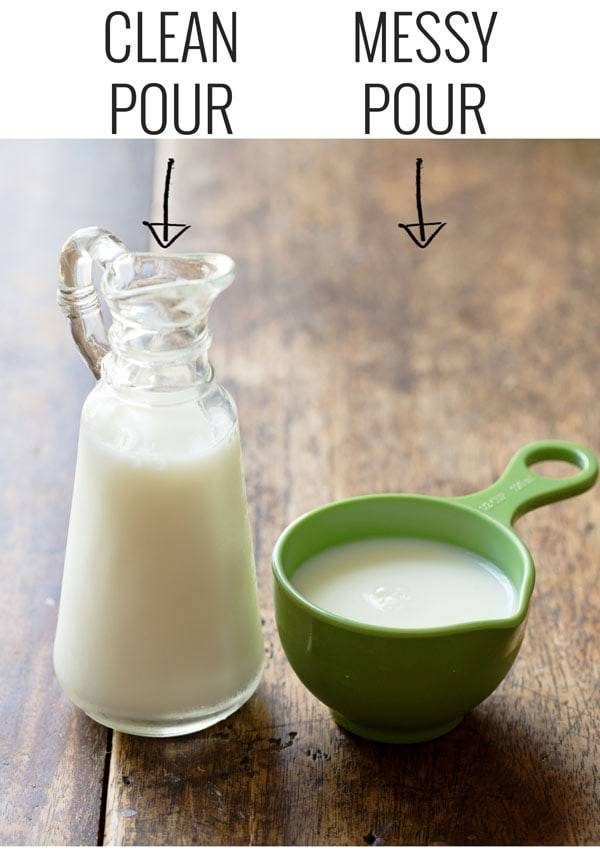
- Vessel Selection: The physics of the pour are dictated by the vessel. A container with a long, tapered spout provides a laminar, controlled stream, whereas a wide-mouthed bowl or a standard measuring cup—while visually appealing—often leads to unpredictable "blobs" rather than elegant streams.
- The "Action" Phase: This is the most volatile part of the process. Whether working solo or with an assistant, the coordination between the pour and the shutter release must be synchronized to the millisecond.
Technical Requirements and Supporting Data
Success in food photography is rarely a product of luck; it is a result of calculated camera settings. Understanding the relationship between shutter speed, ISO, and aperture is non-negotiable for anyone looking to move beyond "blobby", out-of-focus results.
Shutter Speed and Motion Control
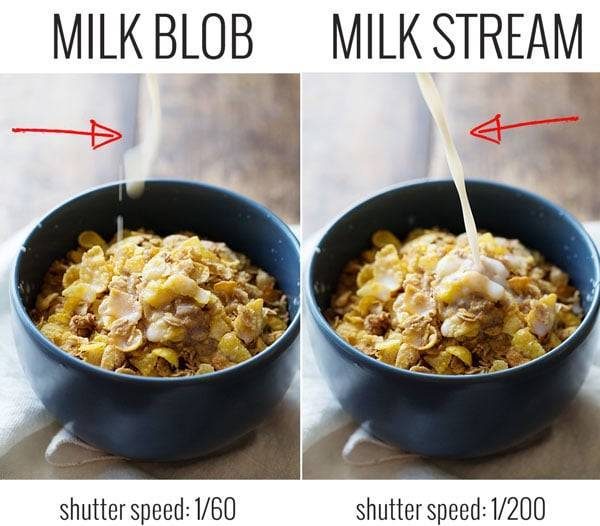
When photographing stationary subjects, many photographers operate at a shutter speed of approximately 1/60th of a second. However, for a pour shot, this speed is insufficient to freeze the kinetic energy of falling liquid. To achieve a sharp, defined stream, photographers must increase their shutter speed significantly—often to 1/200th of a second or higher.
The Compensation Principle
Increasing the shutter speed reduces the amount of light hitting the sensor, which naturally darkens the image. To maintain exposure, photographers must adjust the aperture (to allow more light in) or increase the ISO (the sensor’s sensitivity to light). This balancing act is what separates amateurs from professionals. As noted in industry guides like Tasty Food Photography, the iterative process of "shoot, check, and adjust" is the only reliable method for finding the "sweet spot" for a specific lighting environment.
Leveraging Contrast for Autofocus
Modern camera autofocus systems rely on contrast to lock onto a subject. If a sauce is being poured onto a surface with low contrast, the lens may "hunt" or squirm, missing the moment entirely. By choosing plates or ingredients with distinct colors and textures, the photographer provides the camera with the visual data necessary to maintain focus throughout the duration of the pour.
Professional Perspectives: The "Handheld" vs. "Tripod" Debate
The use of a tripod is widely regarded as the gold standard in food photography, providing stability and allowing the photographer to focus on the action. However, the reality of the industry involves a divide between traditionalists and "impulsive" creators who prefer a more organic approach.
The Case for Tripods
A tripod allows for consistent framing, which is critical when one is the sole operator of the camera and the pour. By using a remote trigger, a photographer can keep both hands engaged—one to hold the vessel and another to adjust the pour stream.
The "Homemade" Methodology
For those working in high-pace environments without a tripod, a manual maneuver has emerged as a functional workaround. This involves lining up the composition by looking through the viewfinder, then looking up to ensure the pour is centered, and repeating the sequence until the spatial relationship is ingrained. While this method is inherently more difficult and prone to "splash-back" or spills, it allows for a sense of urgency and spontaneity that can be difficult to manufacture under rigid tripod setups.
Implications for Content Strategy
The technical execution of the pour shot carries significant implications for a brand’s visual identity. A crisp, clean pour signifies professionalism and attention to detail. Conversely, poorly executed shots—characterized by "mystery blobs" or unintended, dark, or out-of-focus hands—can detract from the perceived quality of the recipe.
The Role of Food Manipulation
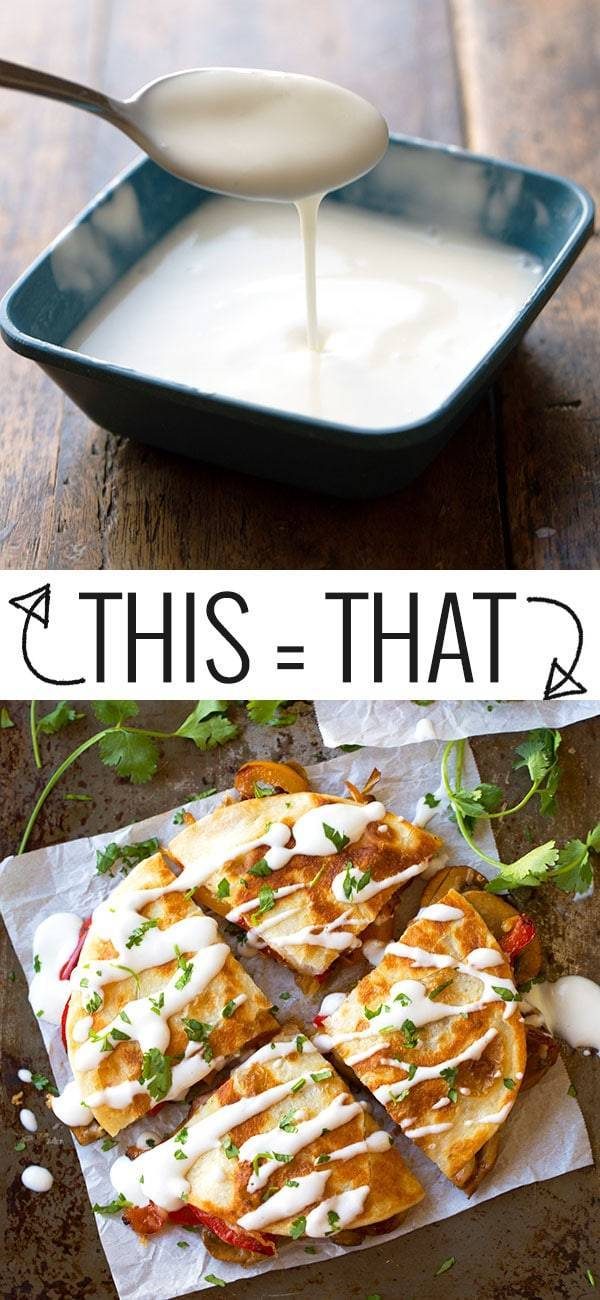
Professional food photography often involves the strategic alteration of ingredients. If a sauce is naturally too viscous, it will not photograph well. Adding a small amount of water or thinning agents to a dressing is a standard industry practice to ensure a smooth, elegant flow. The "truth" of the photo is often secondary to the "visual experience" of the viewer; thus, manipulating the food to look its best is not merely acceptable—it is essential.
The Human Element
The inclusion of a human hand in a pour shot can add warmth and relatability, but it carries the risk of appearing intrusive or unappealing if not properly angled. If the hand is in the frame, it should be positioned naturally. If a second shooter is unavailable, it is often safer to move the hand completely out of the frame, focusing entirely on the liquid and the dish to avoid the "creature of the night" aesthetic that occurs when limbs are poorly lit or awkwardly cropped.
Conclusion: The Practice of Perfection
The mastery of the pour shot is a testament to the adage that practice is the only path to consistency. For every image that makes it to a portfolio or a blog header, there are hundreds of discarded frames. This reality serves as a reminder that even the most seasoned professionals rely on a foundation of repetitive, deliberate practice.

By prioritizing technical knowledge—specifically concerning shutter speed, focal point selection, and vessel physics—creators can transform their food photography from a series of accidental "splats" into a library of dynamic, professional-grade imagery. Whether you utilize a high-end studio setup or a "homemade" approach, the goal remains the same: to create a visual bridge that invites the viewer to taste the food through the screen.