The Art of the Drizzle: Mastering the High-Stakes World of Food Photography Pour Shots
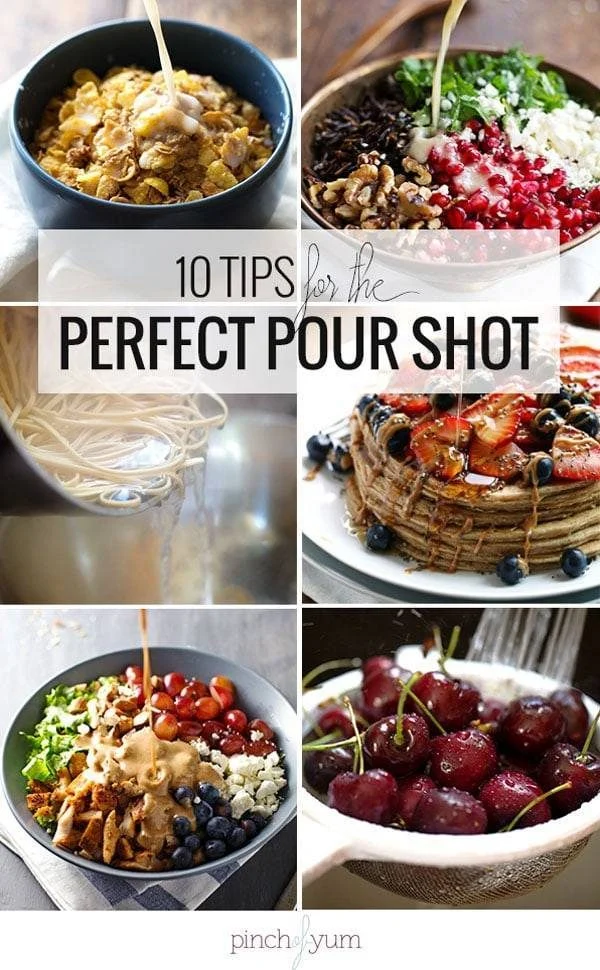
In the competitive landscape of digital food blogging, the "pour shot"—that captivating, split-second image of sauce, syrup, or dressing cascading over a dish—has become the gold standard for engagement. While these images evoke a sense of effortless culinary perfection, they represent a significant technical challenge for photographers. Behind every viral image of a perfect drizzle lies a process defined by high failure rates, meticulous planning, and a deep understanding of camera mechanics.
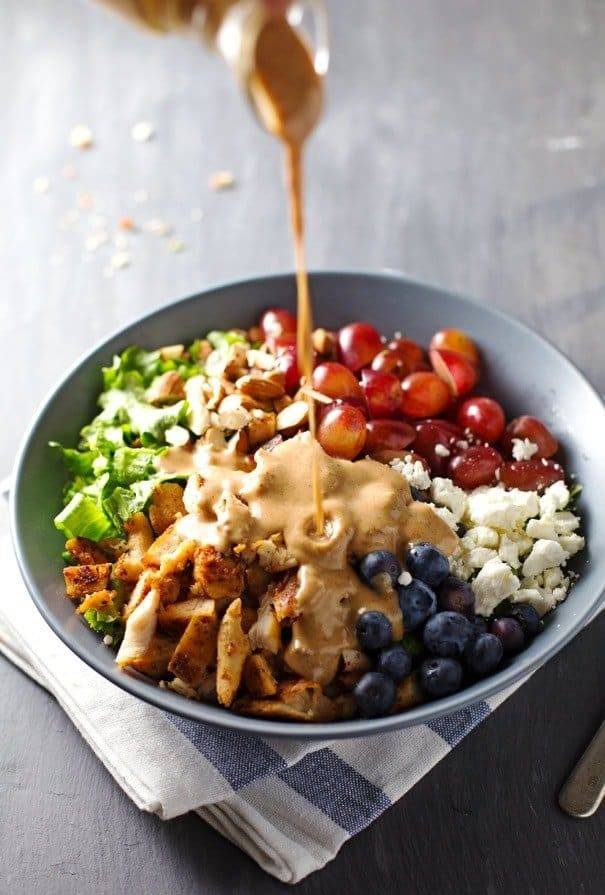
The Reality of the "Perfect" Pour
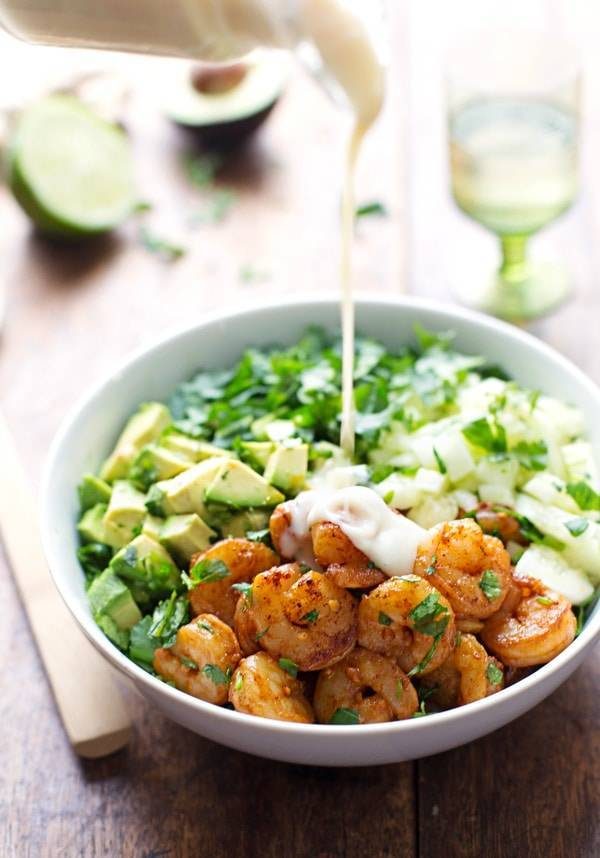
For the casual observer, a pour shot suggests spontaneity. However, professional food photographers confirm that the reality is closer to a grueling test of patience. Industry data suggests that for every single frame-worthy, in-focus pour shot, hundreds of attempts end in failure—often resulting in messy tables and wasted ingredients.
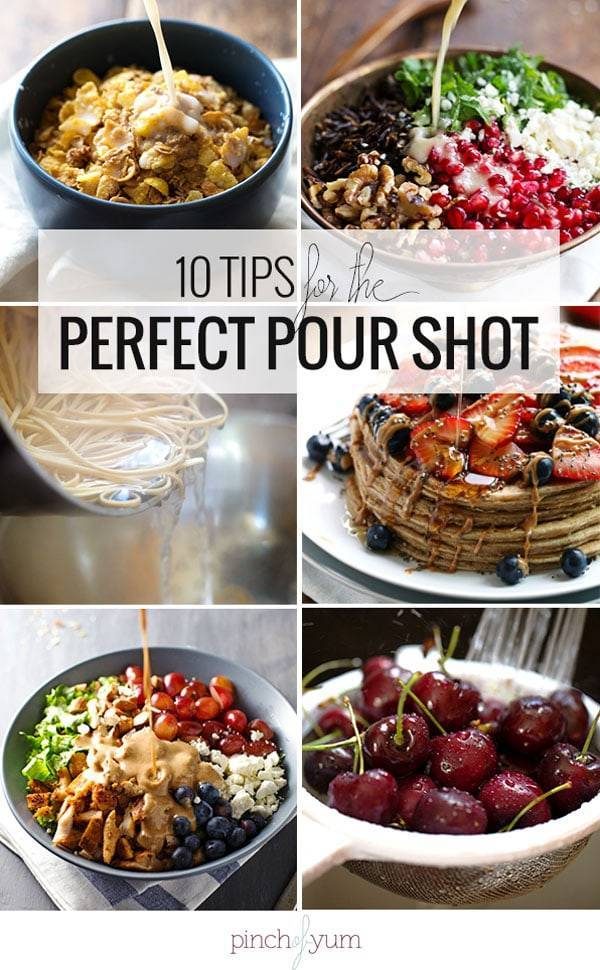
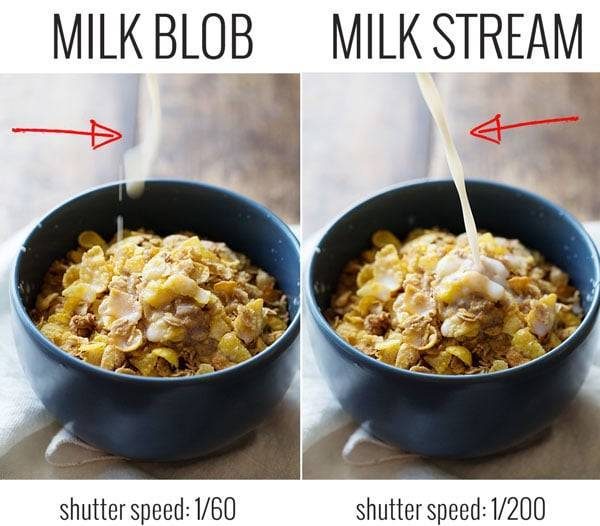
The primary struggle for photographers is the intersection of speed and precision. A standard food photograph often relies on a slower shutter speed to maximize light, but the fluid dynamics of a pouring liquid require a much faster shutter speed to freeze the motion, preventing the "blobby" artifacts that often plague amateur attempts.
Chronology of a Professional Shoot
Achieving the perfect pour is a structured process that relies on a specific sequence of operations.
1. The Pre-Production Phase
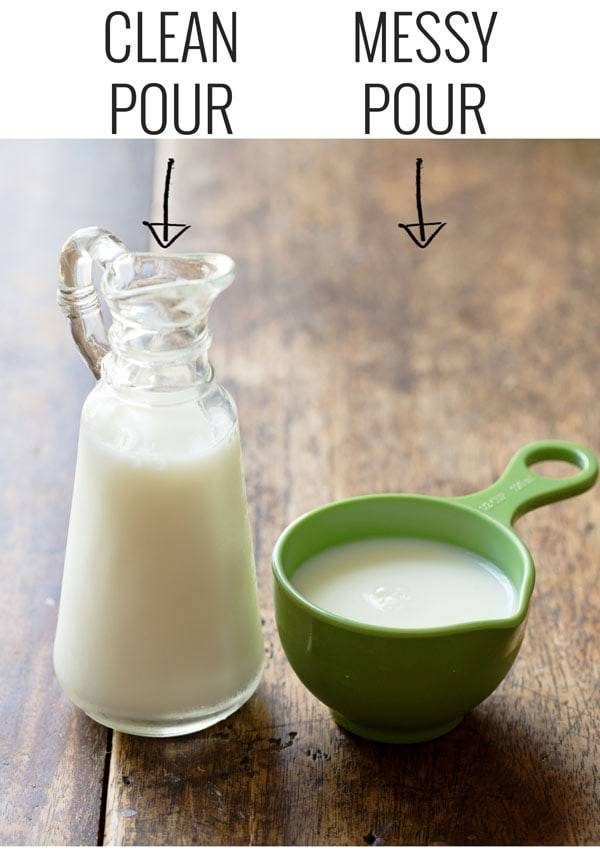
Before a single drop of liquid is poured, the scene must be set. This involves selecting the correct "pouring vessel." Experts recommend containers with long, narrow spouts to ensure a controlled, steady stream. Measuring cups, while aesthetically pleasing, often lack the precision required for high-speed photography, as their wide lips can cause the liquid to adhere to the side of the container rather than flowing cleanly.
2. Setting the Stage
Photographers must calibrate their equipment long before the liquid touches the food. This involves:
- Tripod Placement: Using a tripod allows the photographer to focus on the pour itself while the camera remains locked in a stable position.
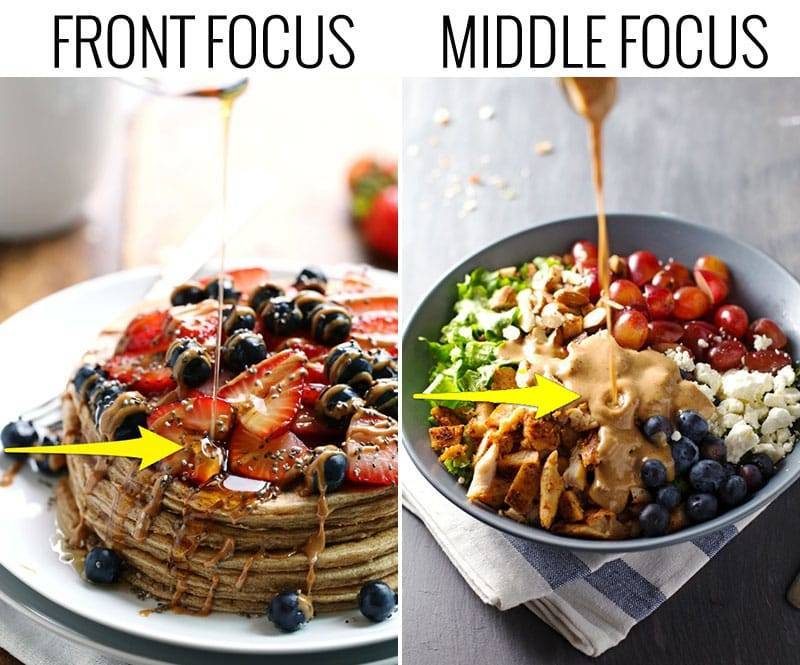
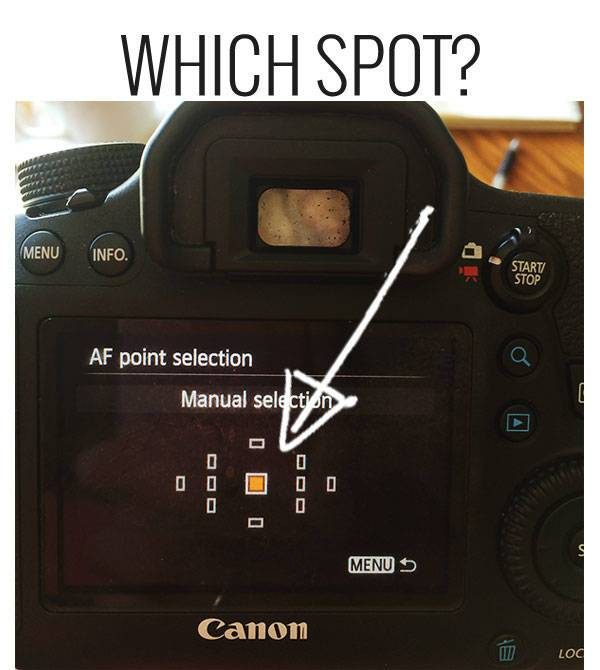
- Focal Point Selection: By manually selecting a focal point, the photographer ensures the camera locks onto the specific area where the liquid will land, rather than defaulting to the center of the frame.
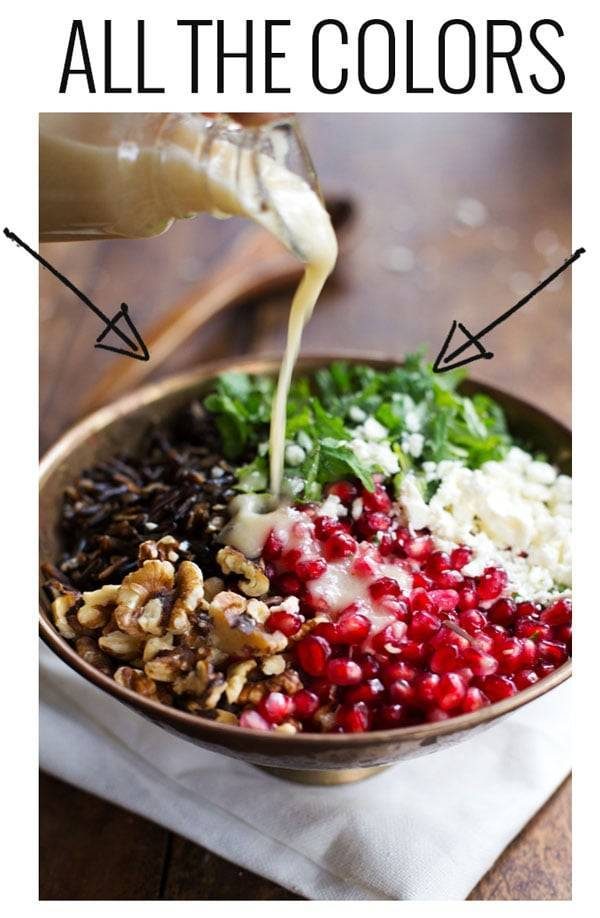
- Contrast Enhancement: A camera’s autofocus system performs best when it detects sharp changes in color or texture. Ensuring the "landing zone" has high contrast makes the camera’s job significantly easier.
3. The Execution
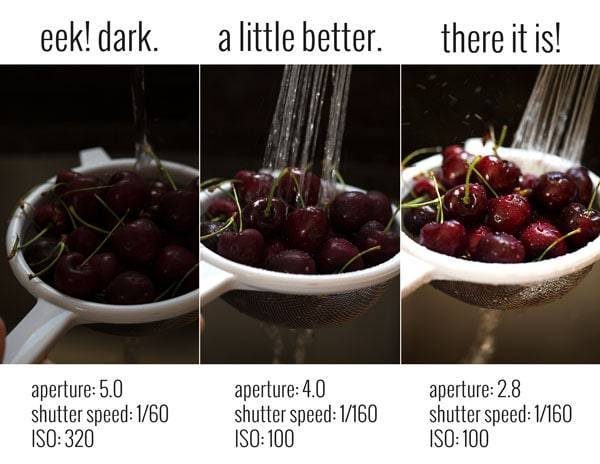
Once the scene is prepared, the "shoot, check, adjust" loop begins. Photographers take a series of test shots without the liquid to verify lighting and focus. Once the technical parameters are locked, the pour commences. For those working without a tripod, this requires a "look-through-the-lens, look-up-at-the-vessel" strategy, which, while unconventional, allows for rapid adjustment between attempts.
Supporting Technical Data: Shutter Speed and Lighting
The transition from a blurred "milk blob" to a crisp, defined stream of liquid is primarily a function of shutter speed.
| Shutter Speed | Resulting Action |
|---|---|
| 1/60th second | Blurry, undefined movement; subject motion lag |
| 1/125th second | Moderate clarity; still prone to "blobbing" |
| 1/200th second+ | Crisp, sharp action; clear droplets and defined edges |
Increasing the shutter speed to 1/200th of a second or faster significantly reduces the amount of light hitting the sensor. To compensate for this, photographers must either increase their ISO or open their aperture. Failure to balance these three elements—the "exposure triangle"—often results in images that are either too dark or suffer from digital noise.
Expert Perspectives on Professional Methodology
While many professional photographers advocate for the use of high-end equipment and tripods, there is a sub-culture of "homemade" photography that favors manual agility.
"The most common mistake beginners make," says one industry expert, "is attempting to pour from a vessel with a handle on the wrong side." Pouring "backwards" over a non-spouted edge is the leading cause of spill-related failures. Experts emphasize that the angle of the hand is just as important as the physics of the liquid. If the photographer’s hand appears in the shot, it must be angled naturally to avoid the "dark creature" effect—an unnatural, shadow-heavy hand placement that ruins the composition.
Implications for the Food Blogging Industry
The rise of the pour shot has had profound implications for how food is marketed online. The ability to simulate "drool-worthy" freshness through a photograph has become a primary driver of social media traffic.
The "Water Manipulation" Technique
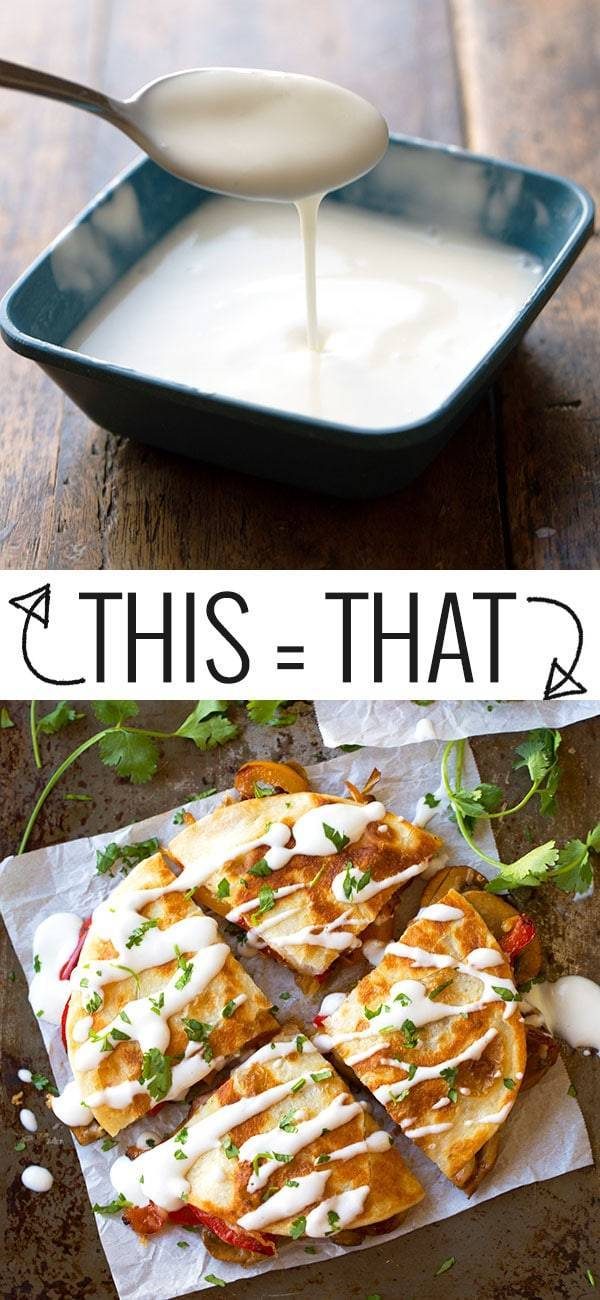
A notable industry secret is the manipulation of ingredients for the sake of the lens. Often, real-world sauces and dressings are too viscous to photograph well; they appear as "globs" rather than elegant ribbons. Photographers frequently dilute these sauces with water to ensure a smoother flow. This practice underscores a vital distinction between cooking for consumption and cooking for the camera.
The Role of Education
As the demand for high-quality food photography grows, so too does the need for accessible educational resources. E-books and virtual workshops, such as "Tasty Food Photography," have become essential tools for aspiring bloggers. These resources bridge the gap between technical photography theory and the practical, often messy, realities of the kitchen.
Strategic Recommendations for Practitioners
To successfully integrate pour shots into a content strategy, creators should adhere to the following best practices:
- Iterative Practice: Do not reserve pour shots for high-stakes projects. Practice the technique during everyday tasks, such as rinsing vegetables or pouring water, to develop muscle memory.
- Strategic Dilution: If a sauce is too thick to photograph, do not hesitate to adjust its consistency. The goal is visual appeal, not recipe accuracy.
- Human Element Management: If a human hand is included in the frame, it should be positioned to add context, not to dominate the frame. If the angle is too difficult, it is better to remove the hand entirely and focus on the stream itself.
- Embrace the "800-Shot" Reality: The most important takeaway for any creator is that failure is a standard part of the process. A professional portfolio is simply a curated selection of the rare successes, not a representation of every attempt.
Conclusion: The Future of Culinary Visuals
The pour shot is more than just a trend; it is a fundamental technique that brings a static image to life. By mastering the technical requirements of shutter speed, aperture, and focal control, while simultaneously embracing the necessity of practice and persistence, creators can transform mundane culinary tasks into art. As technology continues to improve, the accessibility of these techniques will likely increase, further raising the bar for visual storytelling in the culinary world.
For those looking to deepen their understanding, the key remains consistent: prioritize the "shoot, check, adjust" methodology. In the high-stakes world of food photography, the most beautiful images are rarely the product of a single, perfect take; they are the result of hundreds of "bad" ones, a bit of extra water, and the refusal to stop trying.