In an era dominated by hyper-processed foods and escalating grocery bills, a quiet revolution is taking place in home kitchens across the globe. Driven by a combination of economic necessity and a desire for clean-label foods, consumers are increasingly bypassing the commercial bread aisle in favor of scratch baking. Among the various staples being reclaimed by home cooks, pita bread—a traditional, leavened flatbread central to Middle Eastern and Mediterranean cuisines—stands out as a prime candidate for de-industrialization.
Recent data from culinary test kitchens, including the Nashville Test Kitchen, suggests that producing artisanal-quality flatbreads at home is not only structurally superior to store-bought alternatives but also highly cost-effective. By analyzing a streamlined, seven-ingredient pita bread recipe, culinary researchers have demonstrated that basic pantry staples can be transformed into soft, pocketed rounds without the need for specialized industrial machinery, high-cost proofing cabinets, or stone hearth ovens.
Main Facts: Demystifying the Pita Pocket
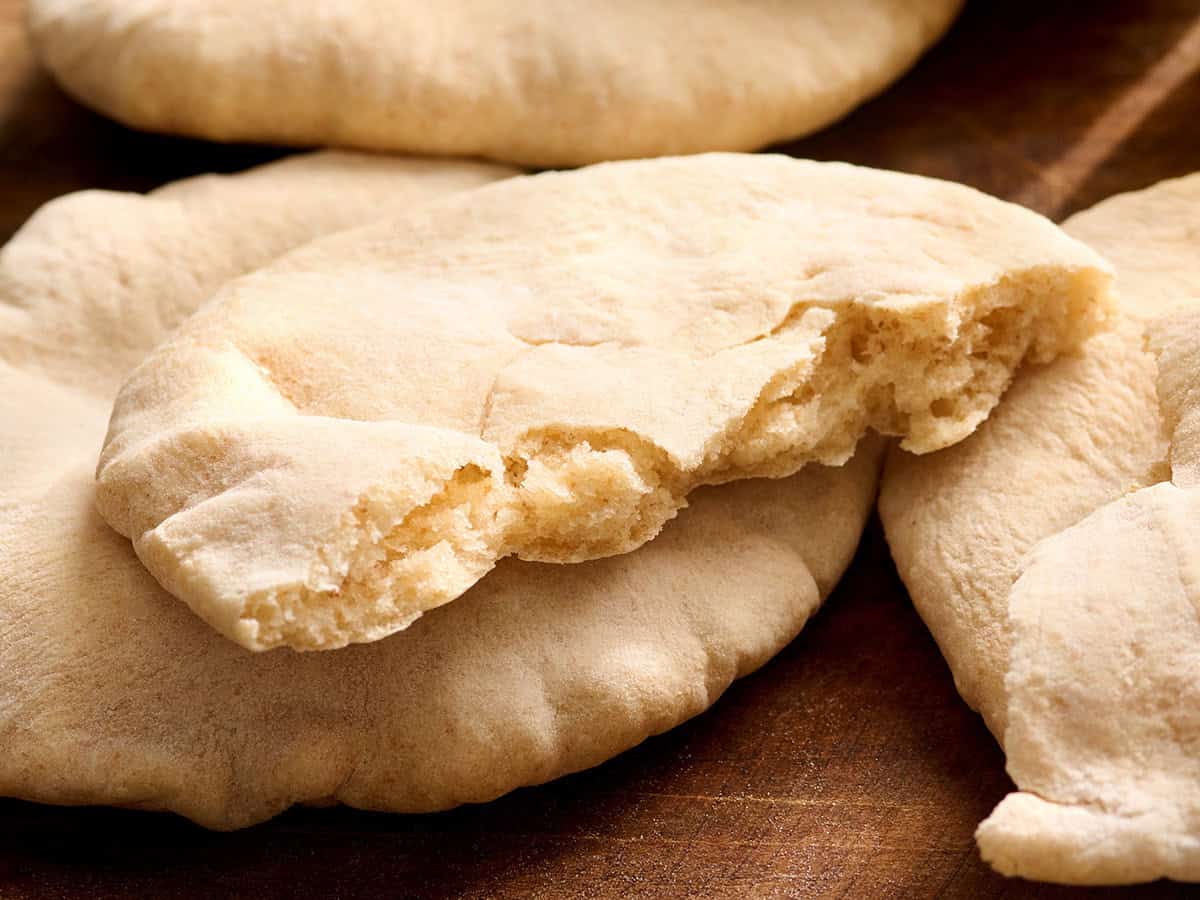
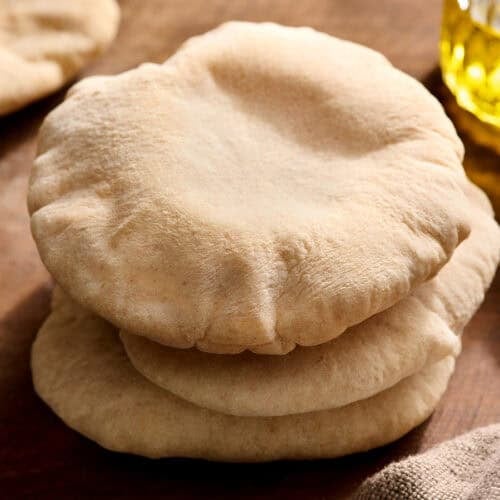
The structural hallmark of a classic pita bread is its interior pocket—a hollow center that makes it uniquely suited for stuffing with various fillings. In commercial manufacturing, achieving this pocket consistently requires precise temperature controls, chemical dough conditioners, and high-velocity tunnel ovens. However, food scientists have long maintained that the underlying physical mechanism of the pita "puff" can be replicated in a standard home kitchen using basic thermodynamic principles.
The Physics of the "Puff"
The creation of the internal cavity relies on a rapid thermodynamic reaction. When a thinly rolled round of yeast dough is placed in an environment heated to 500°F (approx. 260°C), the intense heat immediately gelatinizes the starch on the outer surface, forming a sealed skin. Concurrently, the moisture trapped within the core of the dough rapidly vaporizes into steam. Because the steam cannot escape through the sealed outer crust, it expands outward, forcing the top and bottom layers of the dough to separate and inflate like a balloon.
Minimalist Equipment Requirements
A common barrier to entry for novice bakers is the assumption that bread-making requires expensive capital investments, such as stand mixers, proofing baskets, or baking stones. The Nashville Test Kitchen’s refined methodology dispels this myth by proving that the recipe requires only:
A standard home oven capable of reaching 500°F.
A basic, oven-safe metal wire cooling rack (used as the baking surface to allow hot air circulation).
A rolling pin to ensure even dough thickness.
A mixing bowl and manual labor for a brief, three-minute knead.
Chronology: From 2010 Blueprint to the Step-by-Step Culinary Process
To understand the viability of this modern baking method, it is useful to examine both its historical development and the chronological chemical progression that occurs during the preparation of the dough.
The foundational recipe was first introduced to the public on December 9, 2010, by culinary writer and food cost analyst Beth Moncel. Over the subsequent sixteen years, the recipe underwent continuous consumer testing and feedback loops. On July 29, 2026, the Nashville Test Kitchen published an optimized version of the formula. This updated iteration refined the flour ratios and baking parameters to ensure maximum pocket formation reliability while maintaining an ultra-low cost profile.
The Chronological Baking Process
The chemical transformation of raw ingredients into finished pita bread follows a strict chronological sequence:
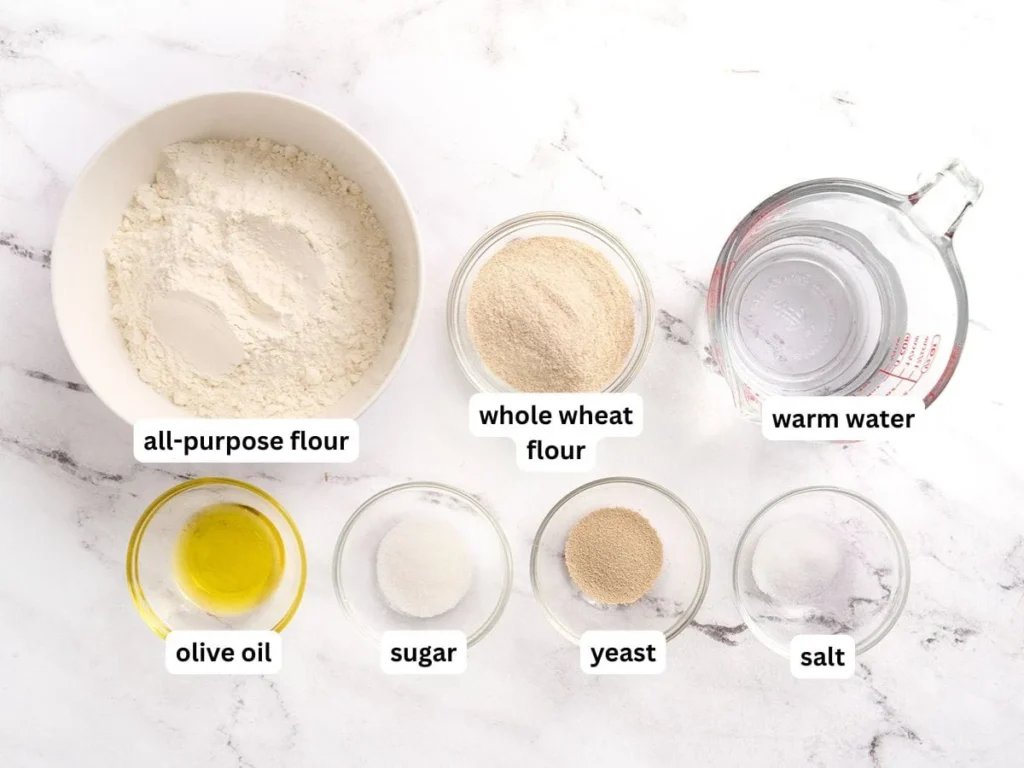
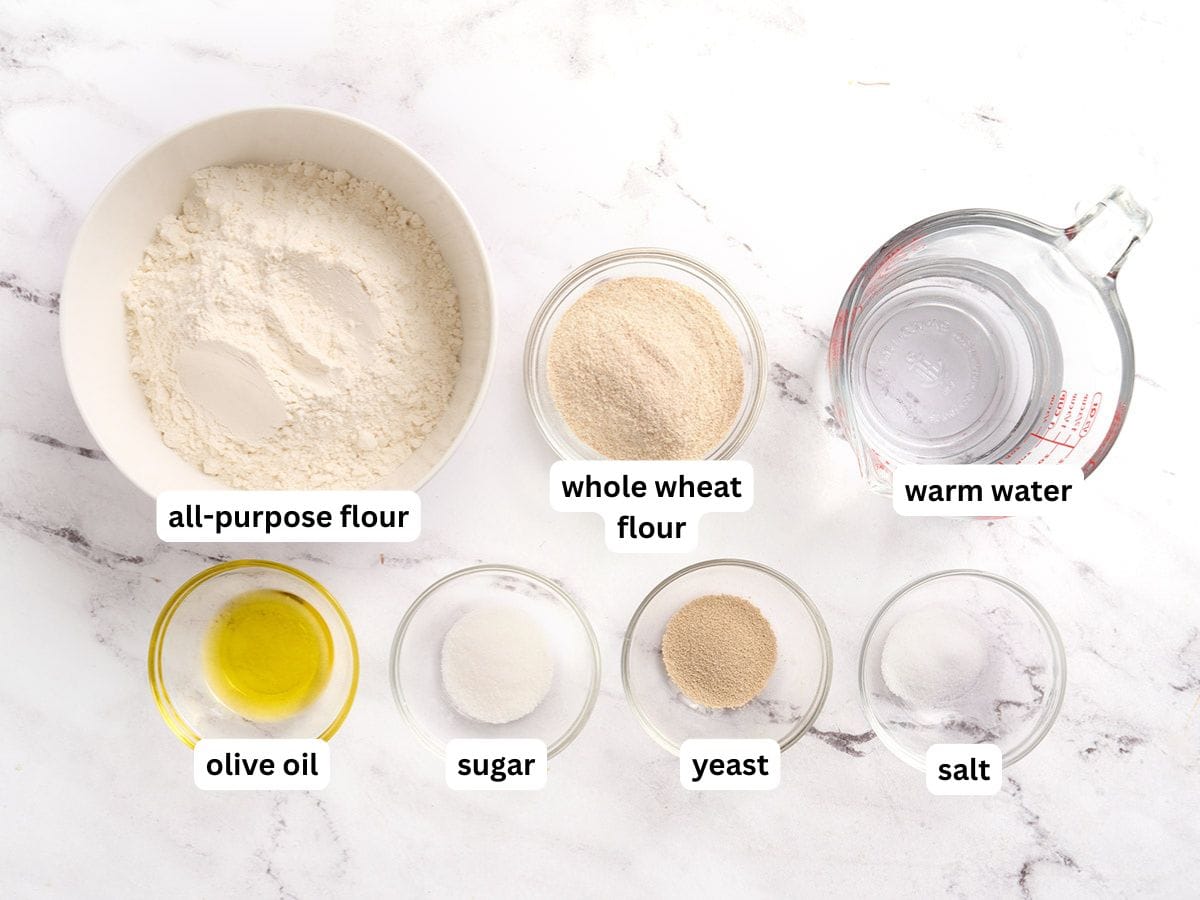
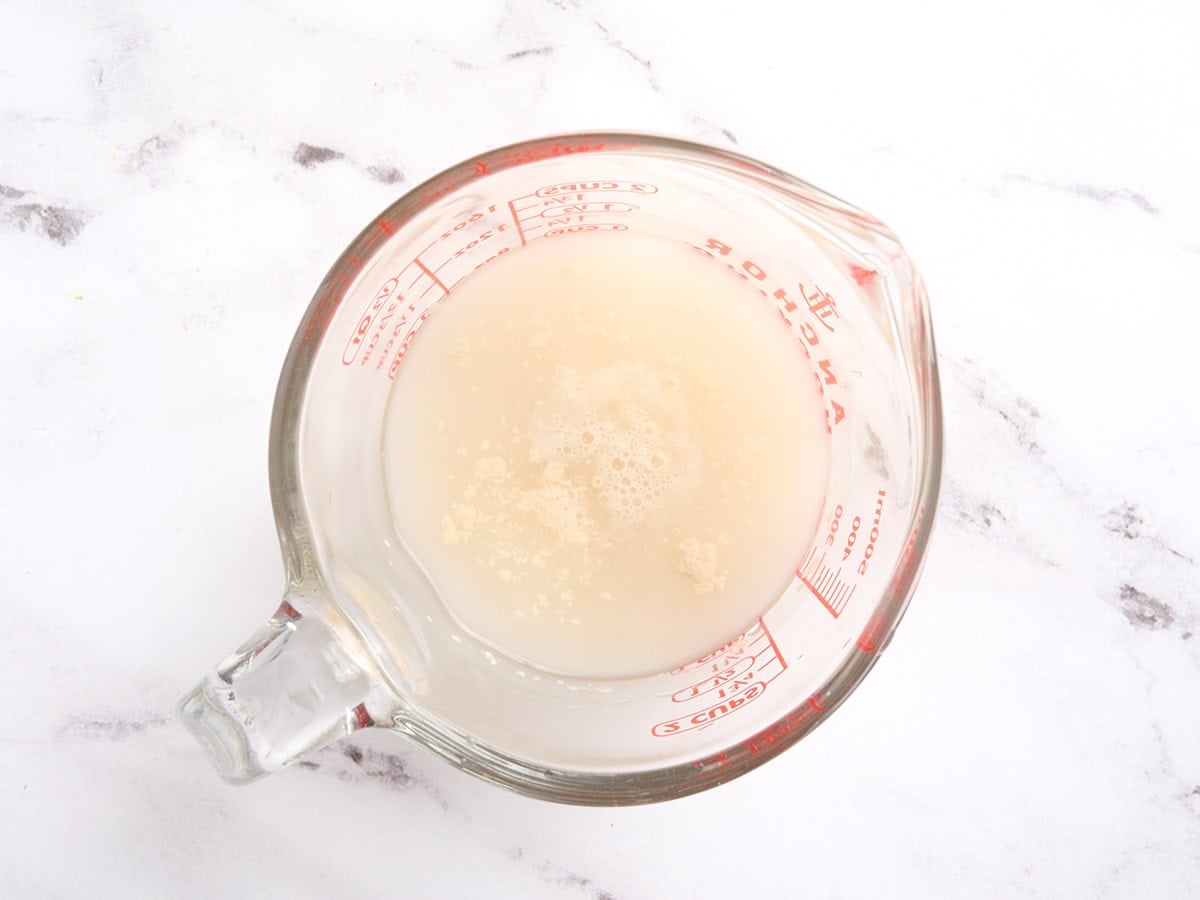
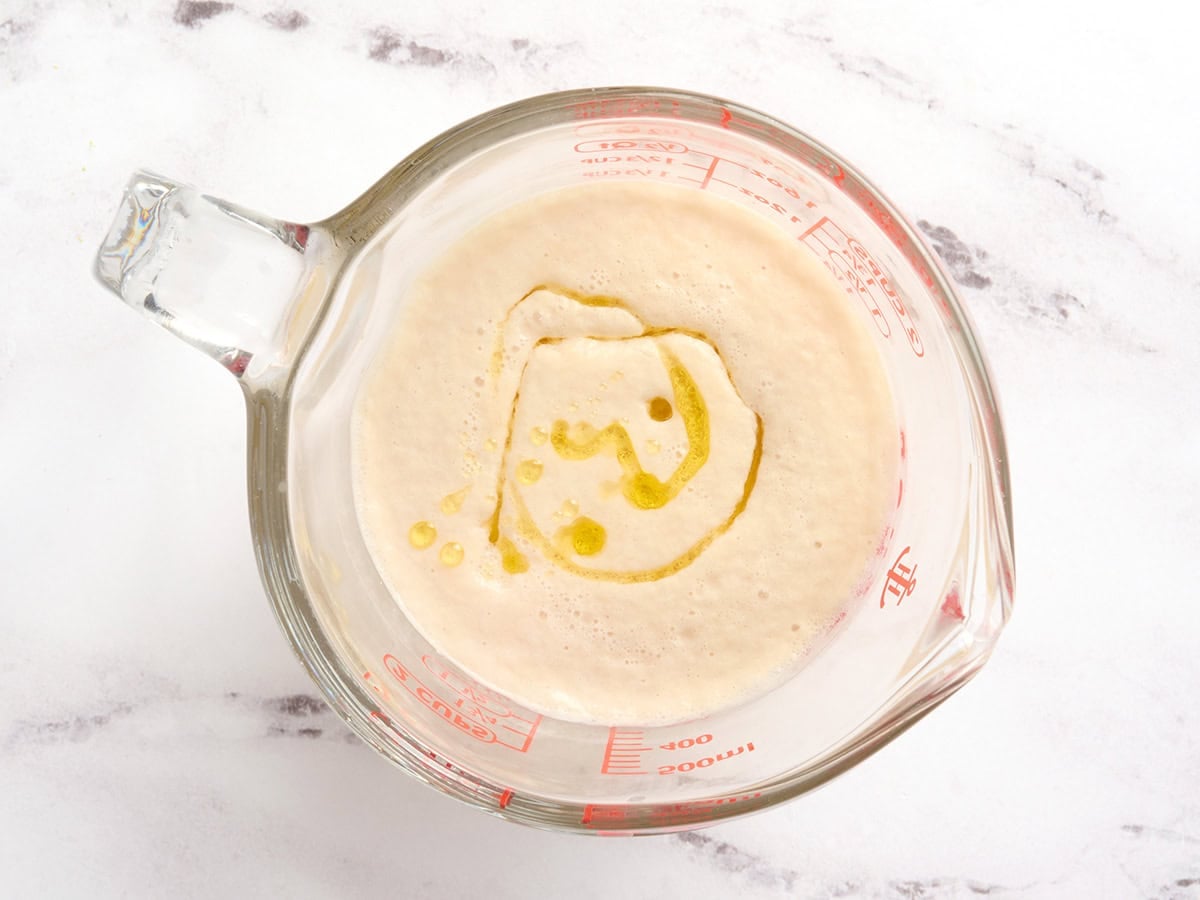
Hydration and Microbial Activation (0–5 minutes): The process begins by combining 1⅓ cups of warm water with 1½ teaspoons of sugar and 1½ teaspoons of active dry or instant yeast. This environment initiates glycolysis, wherein the yeast consumes the sucrose, releasing carbon dioxide and alcohol. The mixture must sit for five minutes until a visible layer of foam confirms yeast viability.
Lipid Integration: Once the yeast is activated, 1 tablespoon of olive oil is stirred into the liquid, which will coat the gluten strands later, ensuring a tender crumb.
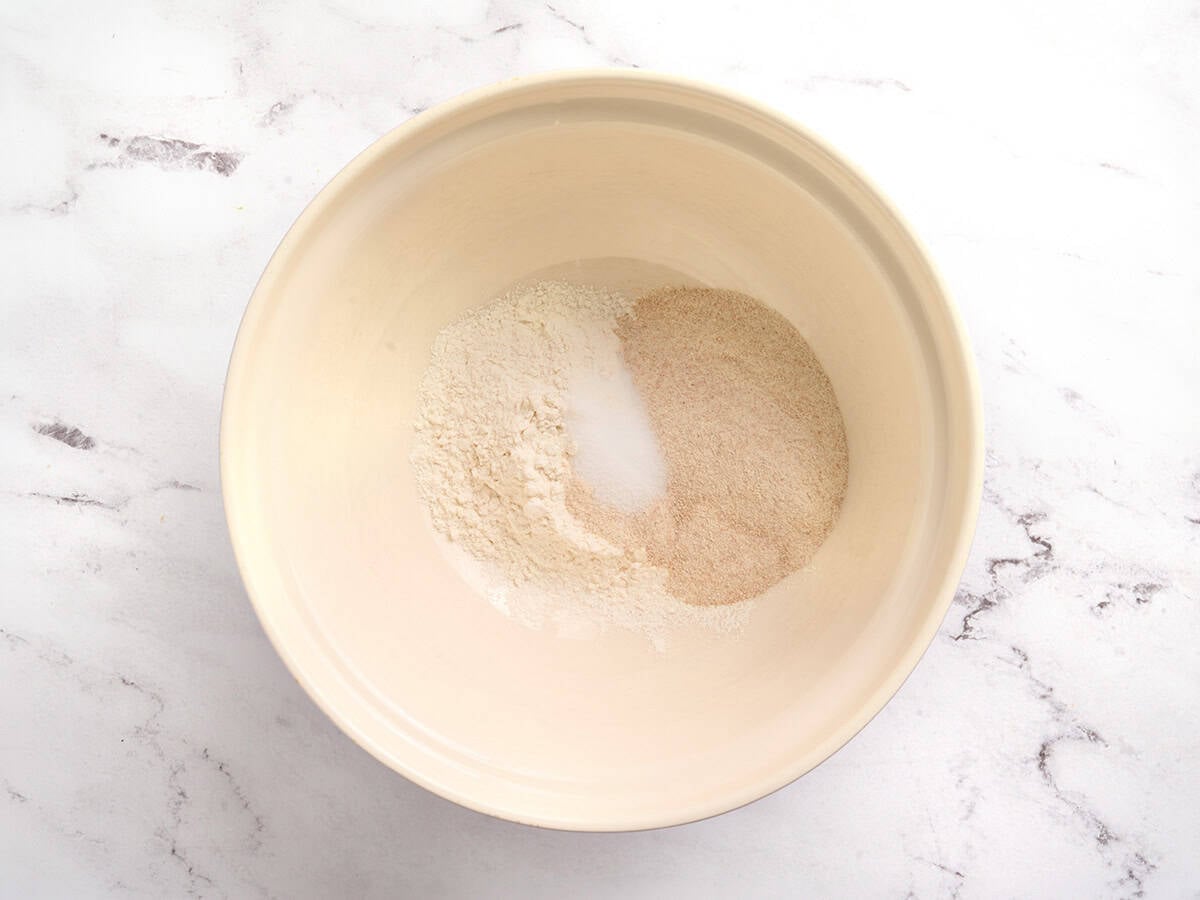
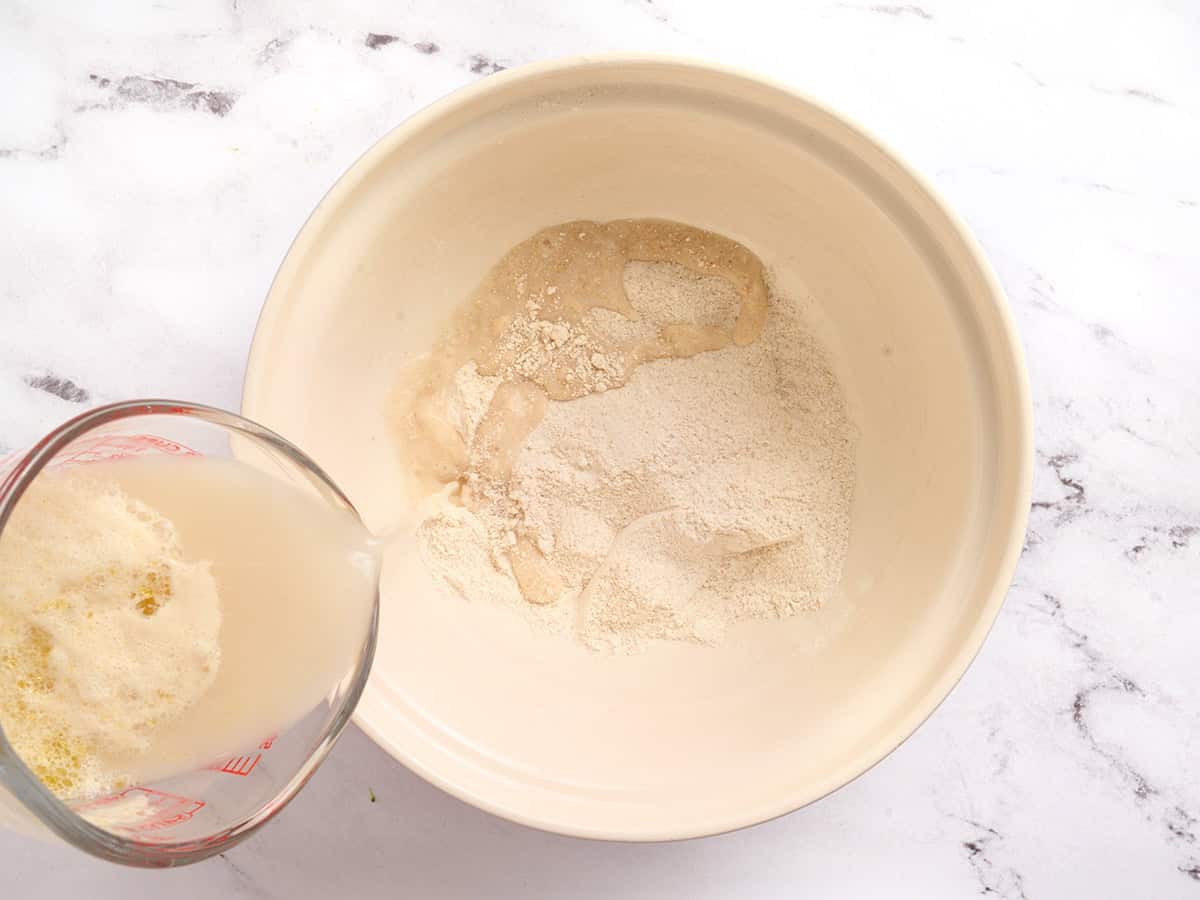
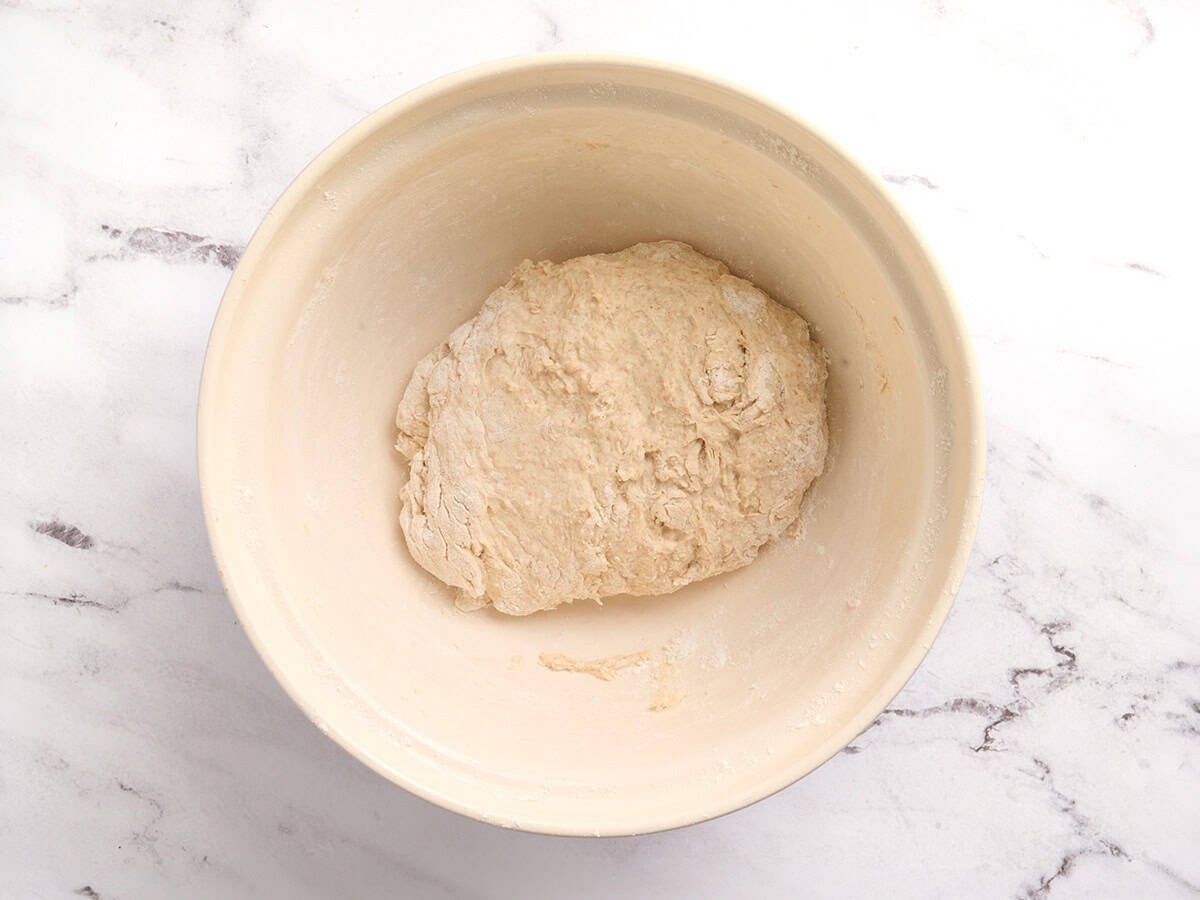
Dry Ingredient Incorporation: In a separate vessel, ½ cup of whole wheat flour is combined with ½ cup of all-purpose flour and 1 teaspoon of salt. The activated yeast mixture is poured in, followed by the gradual addition of approximately 2 more cups of all-purpose flour.
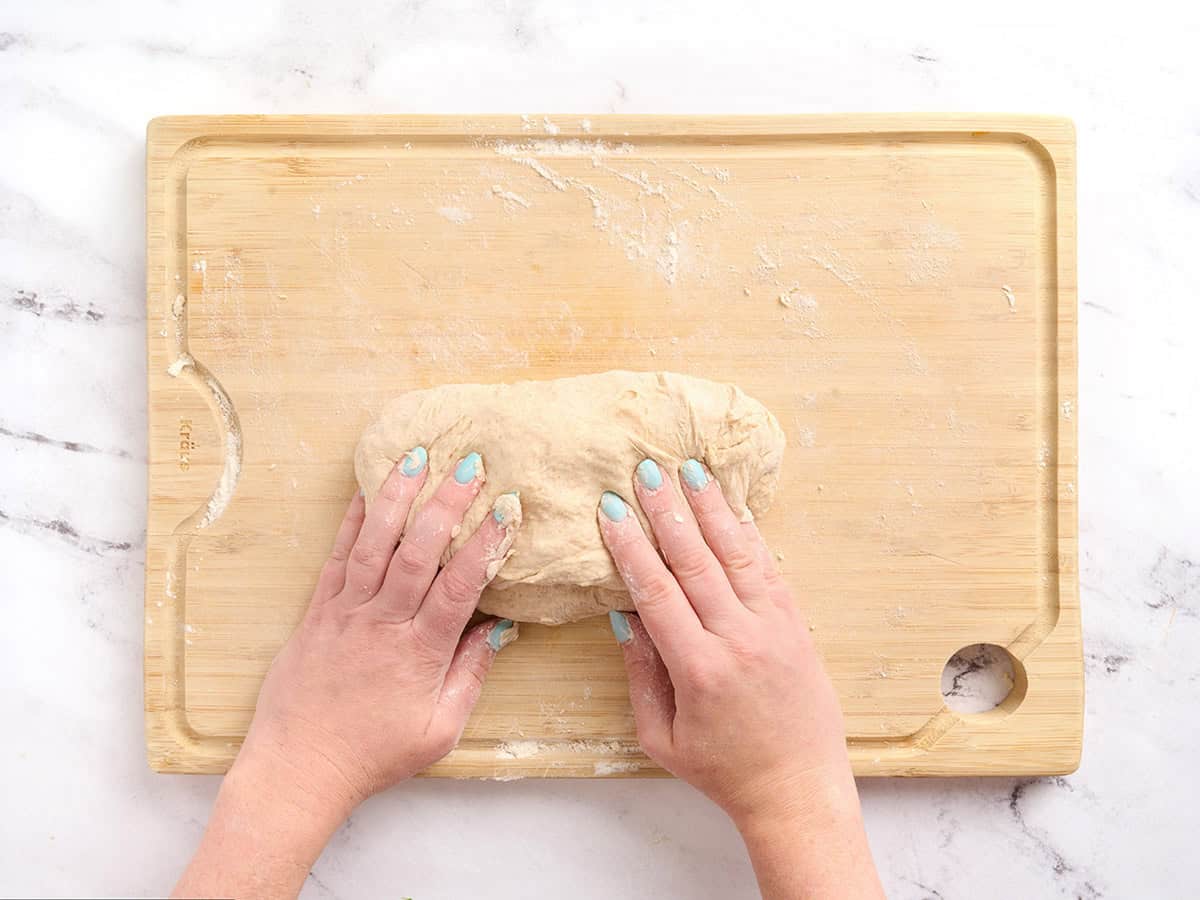
Mechanical Manipulation (Kneading – 3 minutes): The shaggy mass is turned onto a floured surface and kneaded manually for at least three minutes. This mechanical action aligns the gliadin and glutenin proteins, creating a cohesive, elastic gluten network capable of trapping gas.
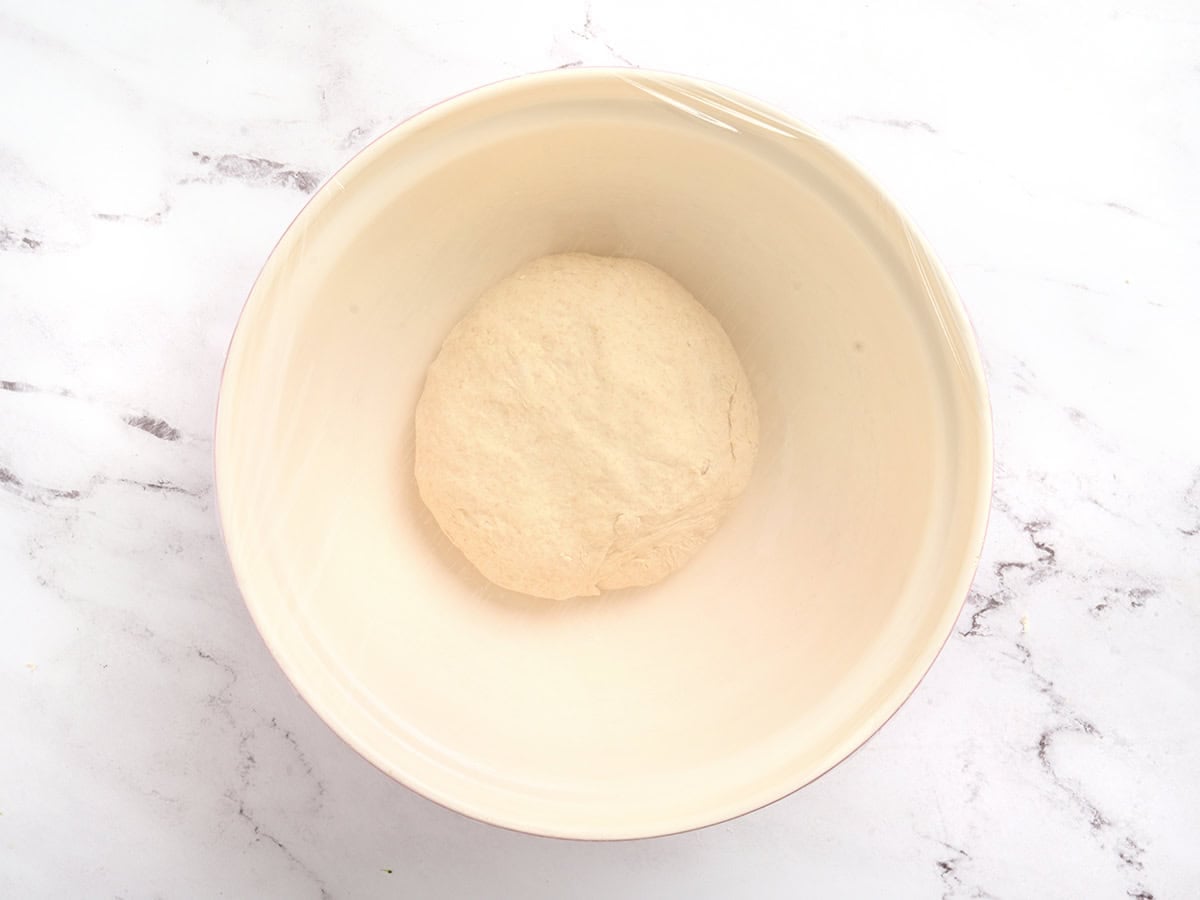
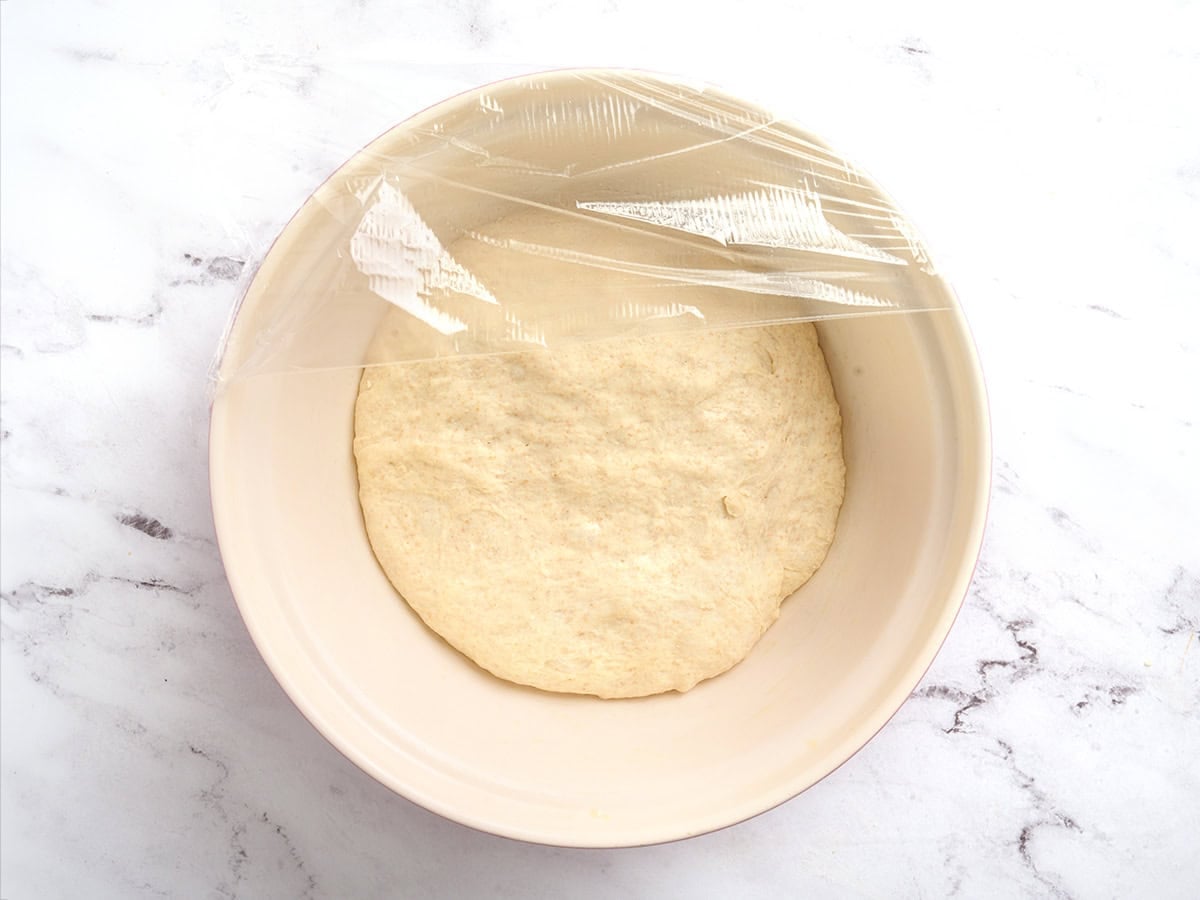
Bulk Fermentation (60 minutes): The dough is placed in a lightly greased bowl, covered, and left to ferment in a warm, draft-free area. During this hour, the yeast continues to respire, causing the dough to double in volume.
Portioning and Geometric Shaping: The proofed dough is punched down to redistribute yeast cells and divided into eight equal portions (or six for larger pockets). Each portion is rolled into a precise six-inch circle. Maintaining a uniform thickness is critical; uneven rolling results in localized steam tears, preventing the pocket from forming.
Thermal Exposure: The dough rounds are placed on an oven rack preheated to 500°F. The rapid bake takes only a few minutes, with the pitas being pulled from the oven while still pale to preserve moisture.
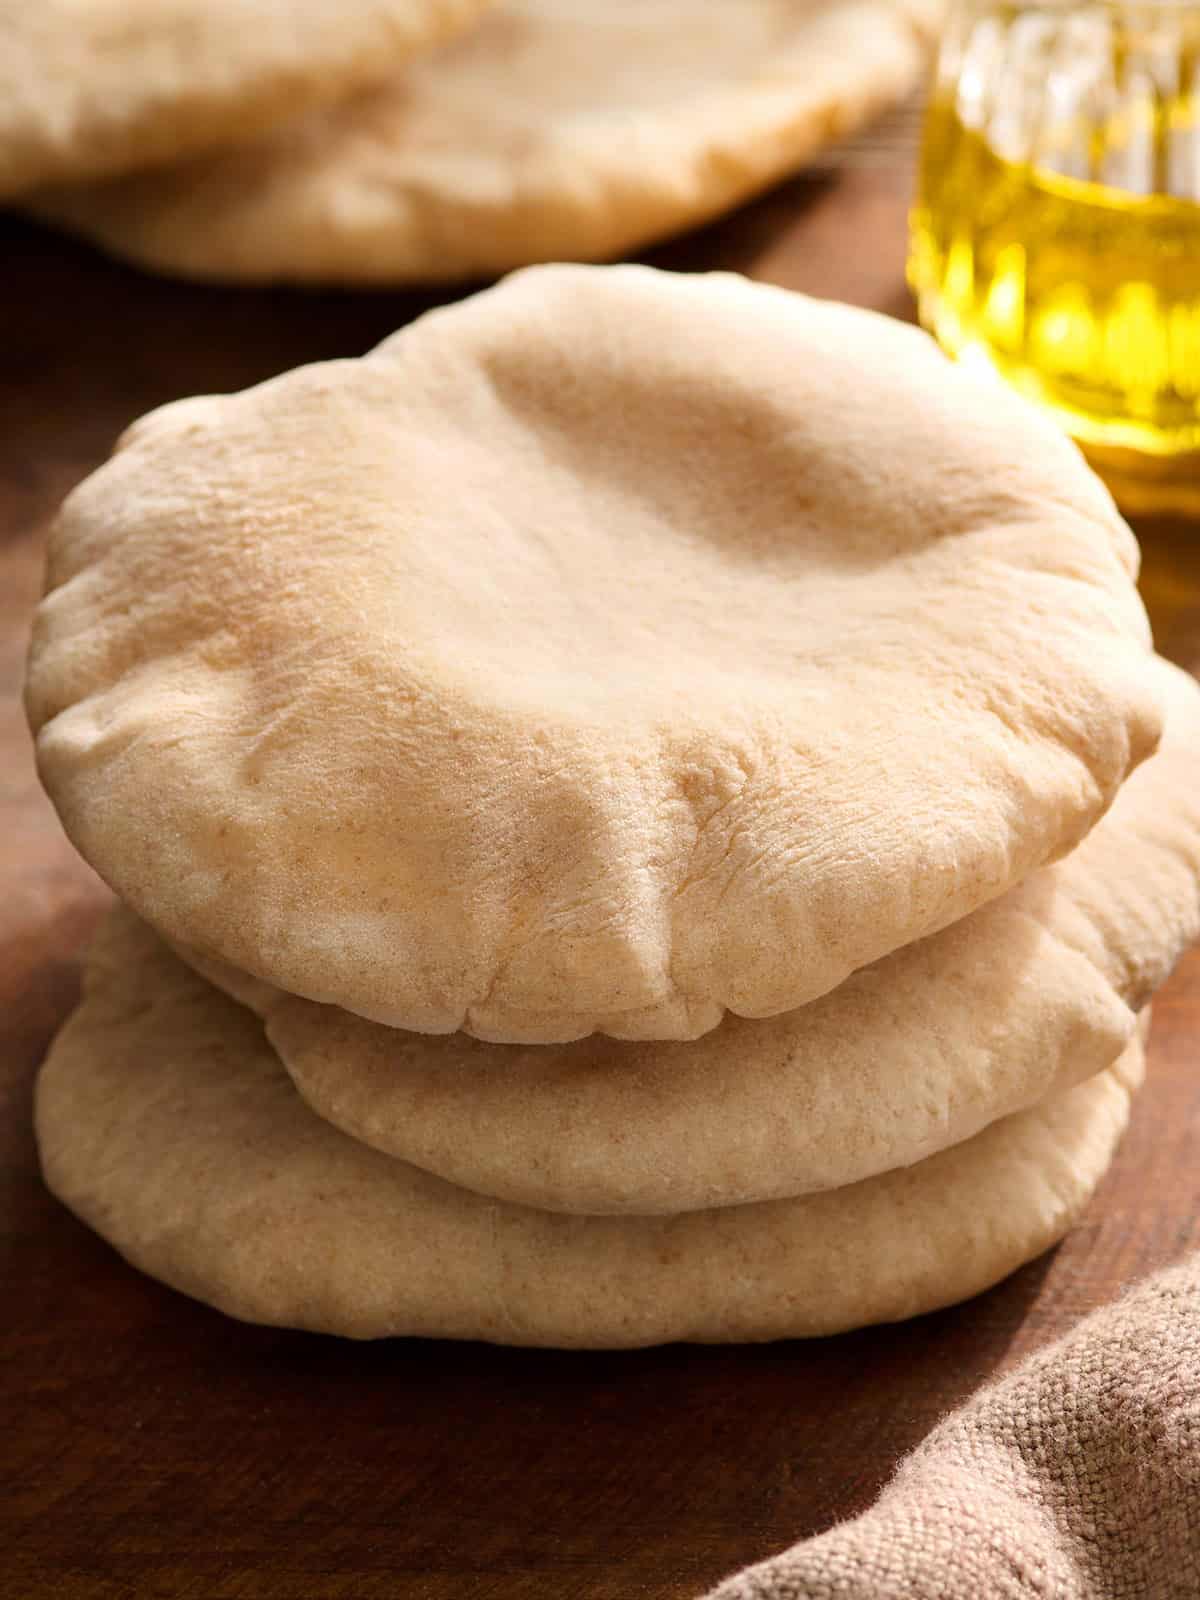
Condensation Control (Post-Bake): Immediately upon removal, the hot pitas are stacked on a plate and draped with a damp cloth. This traps the remaining steam, softening the outer crust and ensuring the bread remains pliable rather than turning into a rigid cracker.
Supporting Data: Financial and Nutritional Breakdown
To quantify the benefits of transitioning from commercial retail products to scratch-baked alternatives, the Nashville Test Kitchen conducted a comprehensive cost and nutritional analysis.
Financial Metrics
The economic advantage of home baking is stark when comparing raw ingredient costs against average retail prices for commercially packaged pita bread.
Ingredient
Quantity Used
Estimated Cost (USD)
Water
1.33 Cups
$0.00
Granulated Sugar
1.5 tsp
$0.01
Yeast (Active/Instant)
1.5 tsp
$0.25
Olive Oil
1 Tbsp
$0.12
Whole Wheat Flour
0.5 Cup
$0.08
All-Purpose Flour
2.5 Cups
$0.43
Table Salt
1 tsp
$0.05
Total Batch Cost (8 Servings)
—
$0.94
Cost Per Serving (1 Pita)
—
$0.12
Note: Based on average US grocery prices as calculated by Budget Bytes.
In comparison, a standard six-pack of commercial, store-bought pita bread typically retails between $3.00 and $5.00, equating to $0.50 to $0.83 per serving. Thus, baking pita bread at home yields an estimated 76% to 85% cost savings per unit.
Nutritional Profile
A primary criticism of commercial breads is their high sodium content and the inclusion of artificial preservatives to extend shelf life. The nutritional values for a single serving of this homemade pita are detailed below:
Calories: 193 kcal (10% Daily Value)
Carbohydrates: 37 g (12% DV)
Protein: 6 g (12% DV)
Fat: 2 g (3% DV)
Sodium: 294 mg (13% DV)
Fiber: 2 g (8% DV)
By incorporating a portion of whole wheat flour, the recipe increases dietary fiber and micronutrient density while maintaining the gluten structure provided by the all-purpose flour.
Official Responses: Test Kitchen Standards and Consumer Validation
The long-term success of this recipe is anchored in both rigorous laboratory testing and empirical consumer feedback.
Professional Standards
Beth Moncel, founder of Budget Bytes, emphasizes that all recipes undergo strict verification protocols within the Nashville Test Kitchen.
"All recipes are rigorously tested in our Nashville Test Kitchen to ensure they are easy, affordable, and delicious," Moncel stated. "Making great food is my passion, my purpose, and my favorite thing to share with others. There’s really nothing more budget-friendly than making bread from scratch, and fresh pita tastes significantly better than the packaged kind."
Moncel’s design philosophy focuses on lowering psychological barriers to baking. By eliminating complex steps like autolyse phases or overnight cold fermentation, the recipe remains accessible to amateur cooks while still yielding professional-grade results.
Consumer Feedback
The recipe’s efficacy is reinforced by community testimonials. Home bakers frequently report that the step-by-step instructions successfully demystify yeast-based baking. One home cook, identified as Michelle, shared her experience:
“My husband and I have been wanting to make this for a while, but were slightly intimidated, and this wasn’t warranted. The recipe was so easy, and the ingredients came together so seamlessly. Make this recipe, you will be proud of yourself. Nothing better than fresh bread!”
Such feedback highlights a common trend: once consumers overcome their initial apprehension regarding yeast fermentation, they quickly recognize the ease and superior quality of home-baked goods.
Implications: Economic Autonomy, Health, and Culinary Versatility
The shift toward scratch-baking flatbreads carries broader societal implications, touching on household economics, public health, and environmental sustainability.
Mitigating Food Inflation
As global supply chains face ongoing disruptions, raw commodities like flour, sugar, and salt remain relatively stable in price compared to highly processed, packaged goods. By purchasing basic ingredients in bulk, households can build resilience against food price volatility. The ability to produce a fresh batch of bread for under a dollar provides families with a valuable tool for managing food budgets.
Health Benefits of Preservative-Free Eating
Commercial bread products are formulated to remain soft on retail shelves for weeks. This is achieved by adding emulsifiers, humectants, and chemical preservatives (such as calcium propionate). While these additives prevent staling and mold growth, they can alter the bread’s flavor profile and texture.
Homemade pita contains no artificial additives. Consequently, its shelf life at room temperature is limited to approximately 48 hours. To mitigate food waste without relying on chemical preservatives, the Nashville Test Kitchen recommends utilizing modern freezing techniques:
[Bake & Cool Pitas] ──> [Insert Parchment Dividers] ──> [Seal in Freezer Bag] ──> [Freeze (Up to 3 Months)]
This method stops retrogradation (staling) and preserves the bread at its peak freshness, allowing households to enjoy preservative-free bread on demand.
Culinary Adaptability and Global Food Trends
The pita pocket functions as an incredibly versatile culinary canvas. Once baked, the bread can support a wide variety of dietary styles and regional dishes:
Pocket Sandwiches: The split rounds can be filled with proteins such as chicken shawarma or falafel, paired with fresh greens, and finished with tzatziki or tahini sauce.
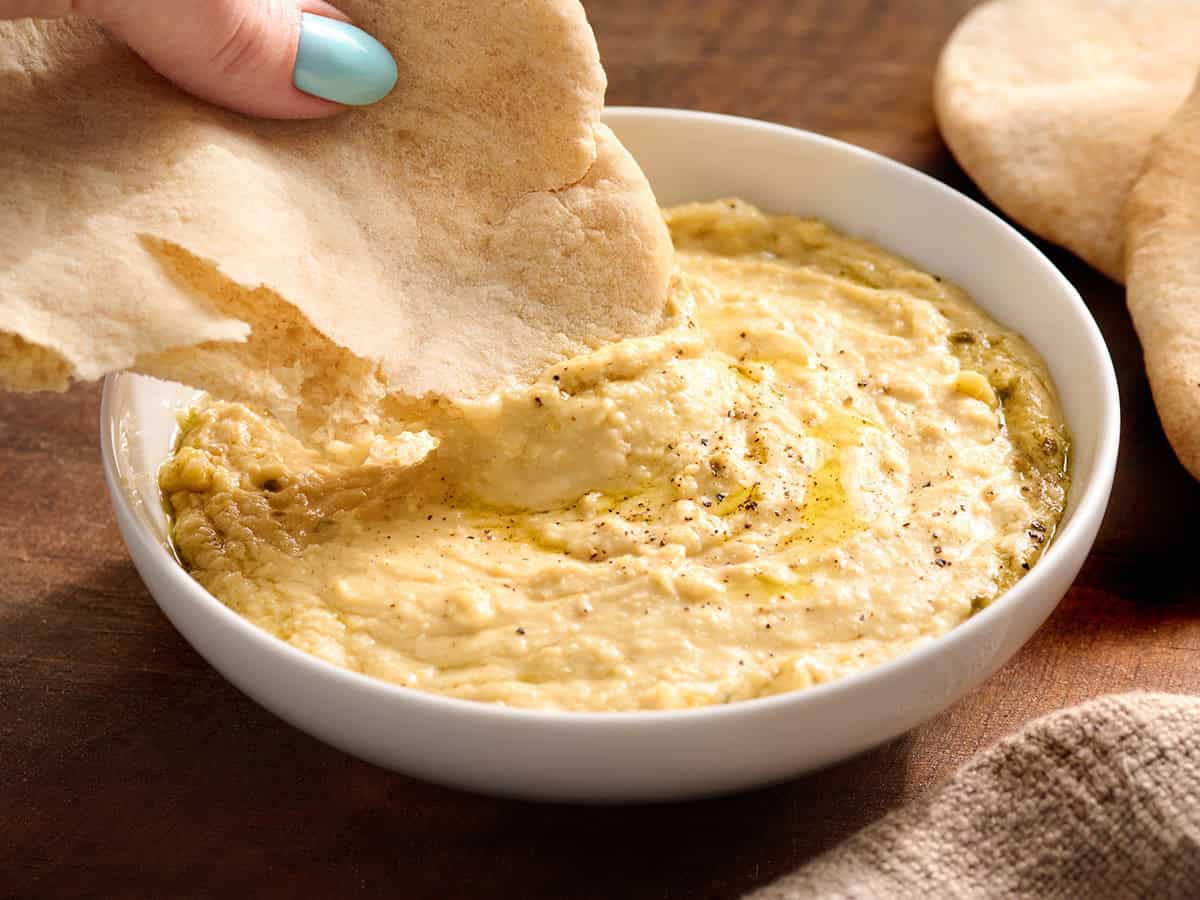
Dips and Mezze: Torn into wedges, the soft bread serves as an ideal vehicle for hummus, baba ganoush, or whipped feta.
Oven-Baked Crisps: Leftover pita can be brushed with olive oil, seasoned with sea salt or za’atar, and baked into crunchy pita chips. For a sweet alternative, they can be tossed with cinnamon sugar.
Ultimately, the resurgence of home-baked pita bread highlights a growing appreciation for the simplicity of scratch cooking. By combining basic food science with accessible ingredients, home cooks can bypass industrial supply chains, improve their diet, and reclaim control over their food budgets.