The Ultimate Guide to Perfect Gluten-Free Chocolate Chip Cookie Bars: Texture, Science, and Success
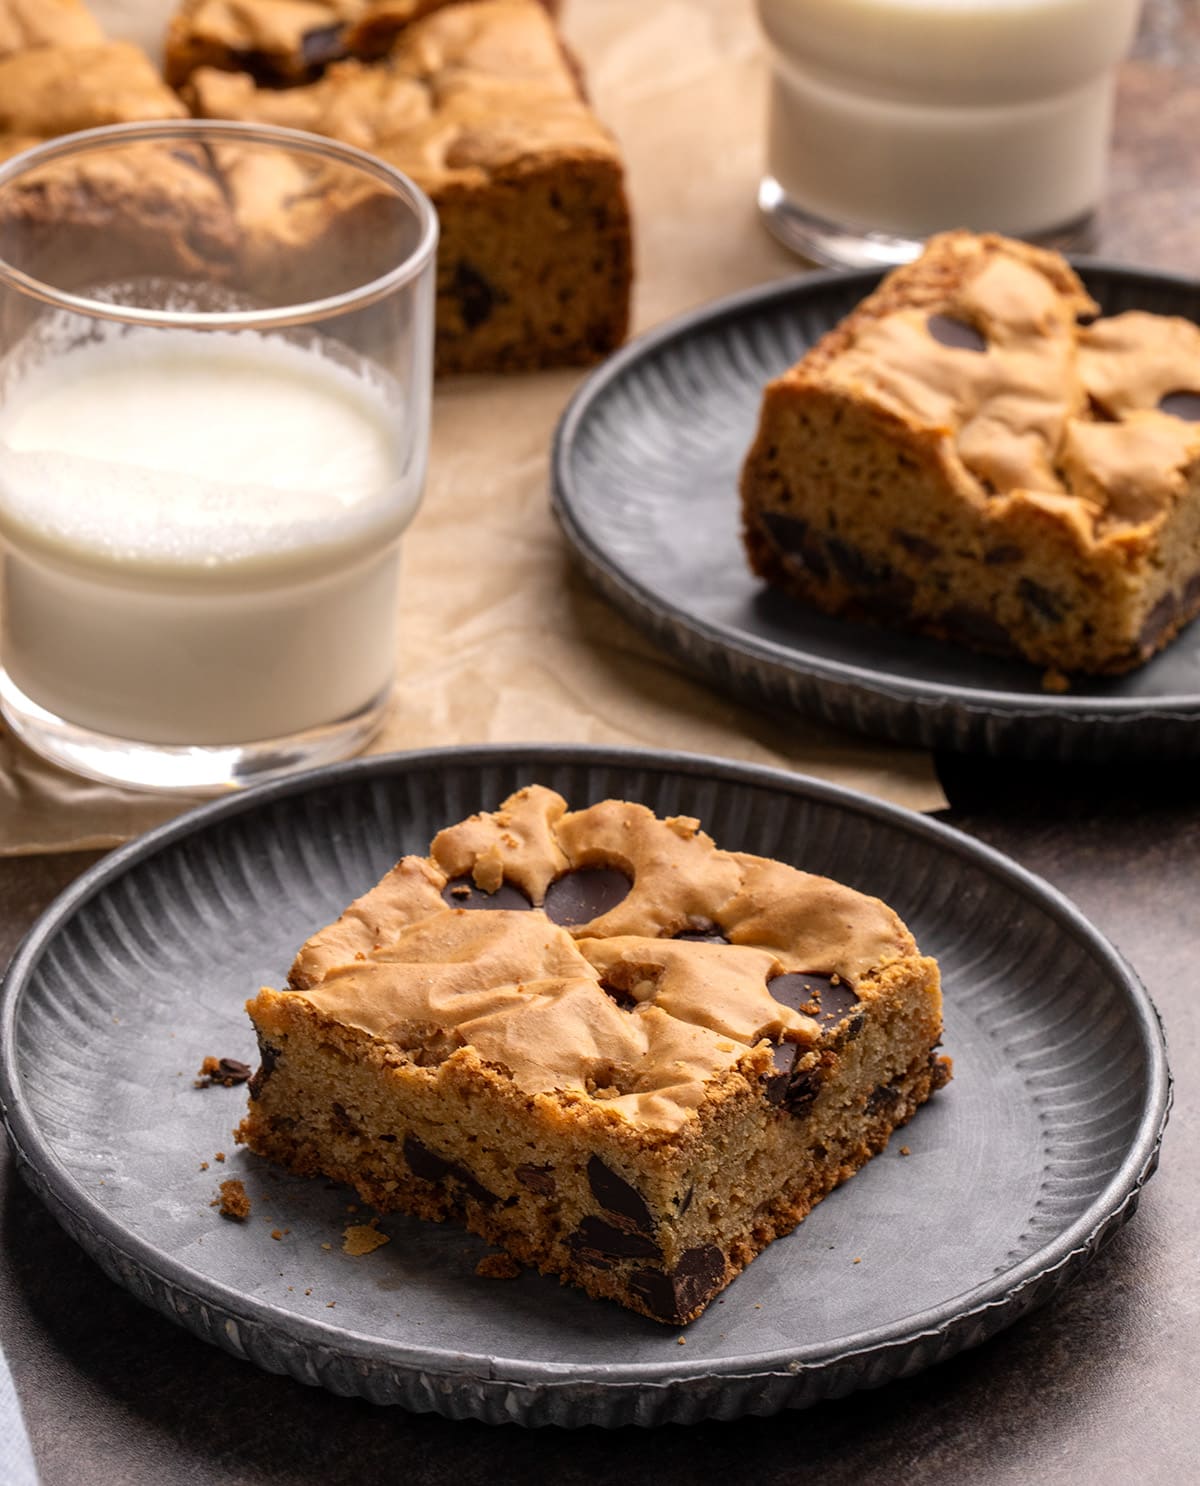
For the millions of individuals navigating celiac disease or gluten sensitivity, the search for the "perfect" cookie is a perpetual journey. Often, gluten-free baking is synonymous with compromise—sacrificing the structural integrity, chewiness, or the iconic, crackly top that defines a premium chocolate chip cookie. However, a new approach to the classic cookie bar format is proving that gluten-free treats can rival, and perhaps even surpass, their traditional counterparts. By re-engineering the ratio of fats to proteins, bakers are now able to produce a thick, chewy, and decadent gluten-free cookie bar in a single pan, eliminating the labor-intensive process of scooping individual dough balls while maintaining a bakery-quality finish.
Main Facts: The Anatomy of the Perfect Bar
The secret to these cookie bars lies in the departure from standard creaming methods. Traditional cookie recipes rely on creaming room-temperature butter and sugar to aerate the dough. Conversely, this specialized technique utilizes melted butter combined with a specific blend of white and light brown sugars.

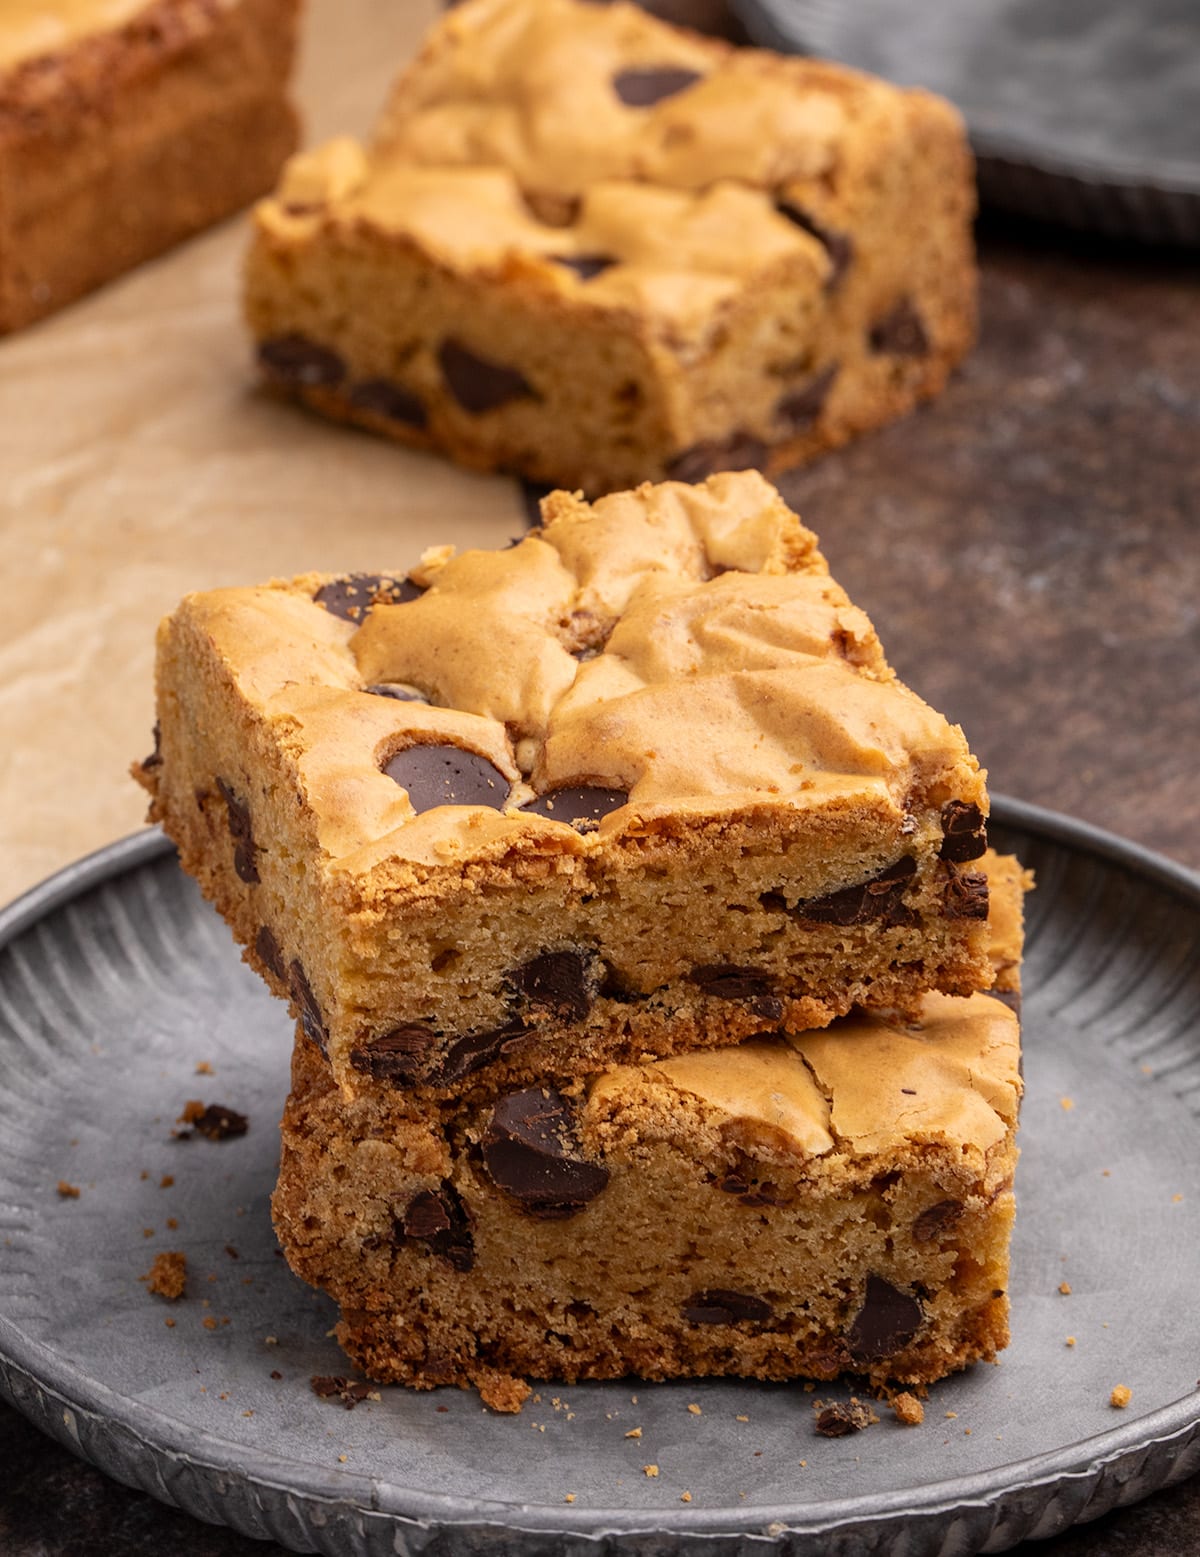
When the butter and sugars are heated until they reach a gentle simmer, the sugars dissolve fully into the fat. This process is instrumental in achieving the signature crackly, shiny top—a feature usually reserved for high-end brownies. The increased flour content, relative to a brownie recipe, ensures that the bars retain a structural "bite" rather than succumbing to a purely fudgy consistency. The result is a hybrid dessert: the structural satisfaction of a chocolate chip cookie combined with the convenient, shareable format of a blondie.
Chronology: The Step-by-Step Baking Process
Achieving consistency in gluten-free baking requires precision. Following this chronological method ensures the chemical reactions—specifically the emulsification of egg proteins and sugar—occur as intended.
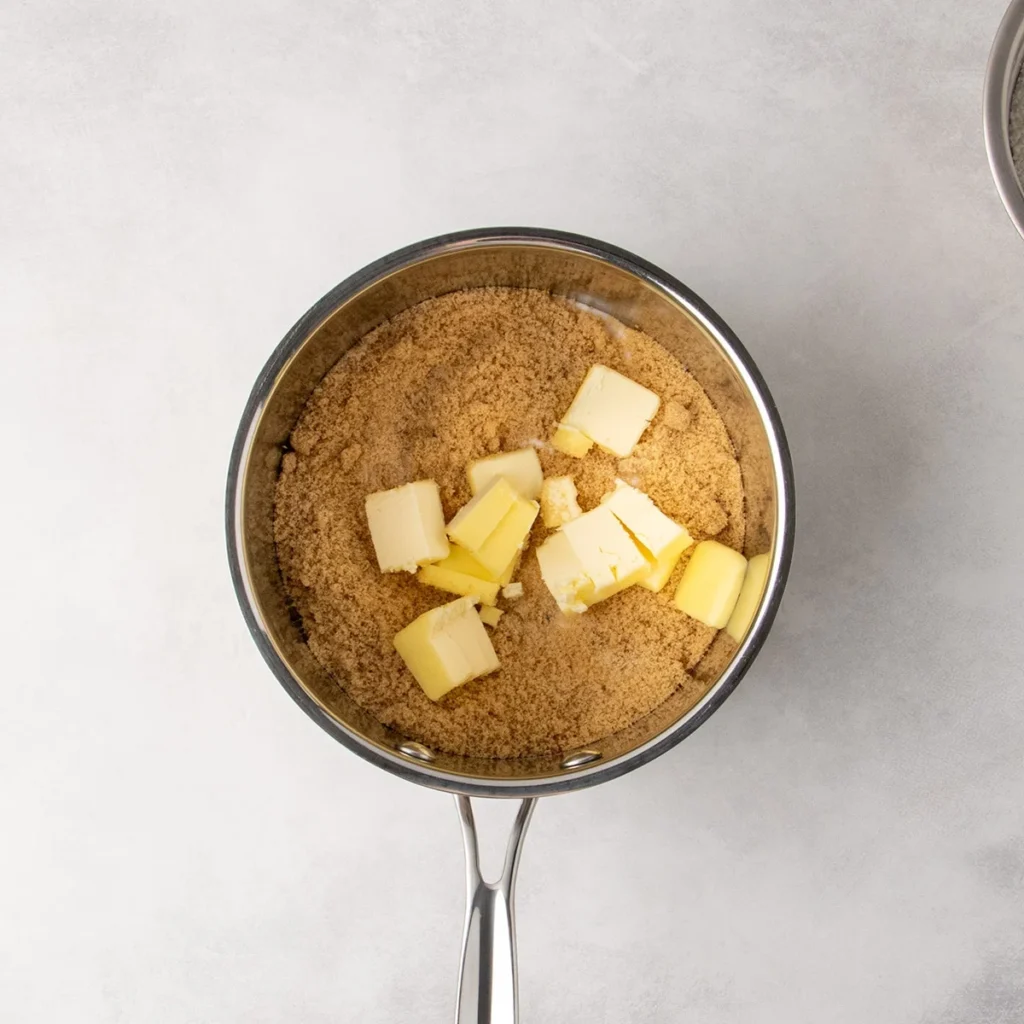
- The Foundation (Sugar and Fat): Melt your butter and sugars over medium-low heat. The goal is to reach a light simmer. If you overcook this mixture, the brown sugar will harden, resulting in a gritty texture. Once melted, the mixture must cool to room temperature to prevent premature coagulation of the eggs.
- The Emulsification: Beat two whole eggs and one additional egg yolk into the cooled mixture. The extra yolk is crucial; it provides the necessary fat to keep the bars chewy and prevents the gluten-free flour from becoming overly dry.
- The Dry Integration: Whisk your gluten-free flour blend—ensuring it contains xanthan gum—with cornstarch, baking soda, and salt. Introducing these ingredients to the wet base causes the batter to thicken rapidly.
- The Fold: Incorporate the majority of the chocolate chips, reserving a small portion to be scattered on the surface. This ensures the bars are studded with chocolate throughout while maintaining an aesthetically pleasing, chip-heavy top.
- The Bake: Spread the thick, sticky batter into a foil-lined pan. Using an offset spatula moistened with water prevents sticking. Bake at 325°F for approximately 40 minutes. The "low and slow" approach is mandatory to ensure the center sets without burning the edges.
- The Set: The most critical step occurs after the oven door closes. The bars must cool to room temperature and then be chilled. This rest period allows the fats to solidify and the structure to stabilize, making them easy to slice into clean, professional-looking squares.
Supporting Data: Nutrition and Dietary Versatility
While these bars are a treat, understanding their composition is vital for those managing dietary restrictions. A single bar contains approximately 415 calories, derived from a balance of carbohydrates (58g) and fats (19g).
Dietary Customization:
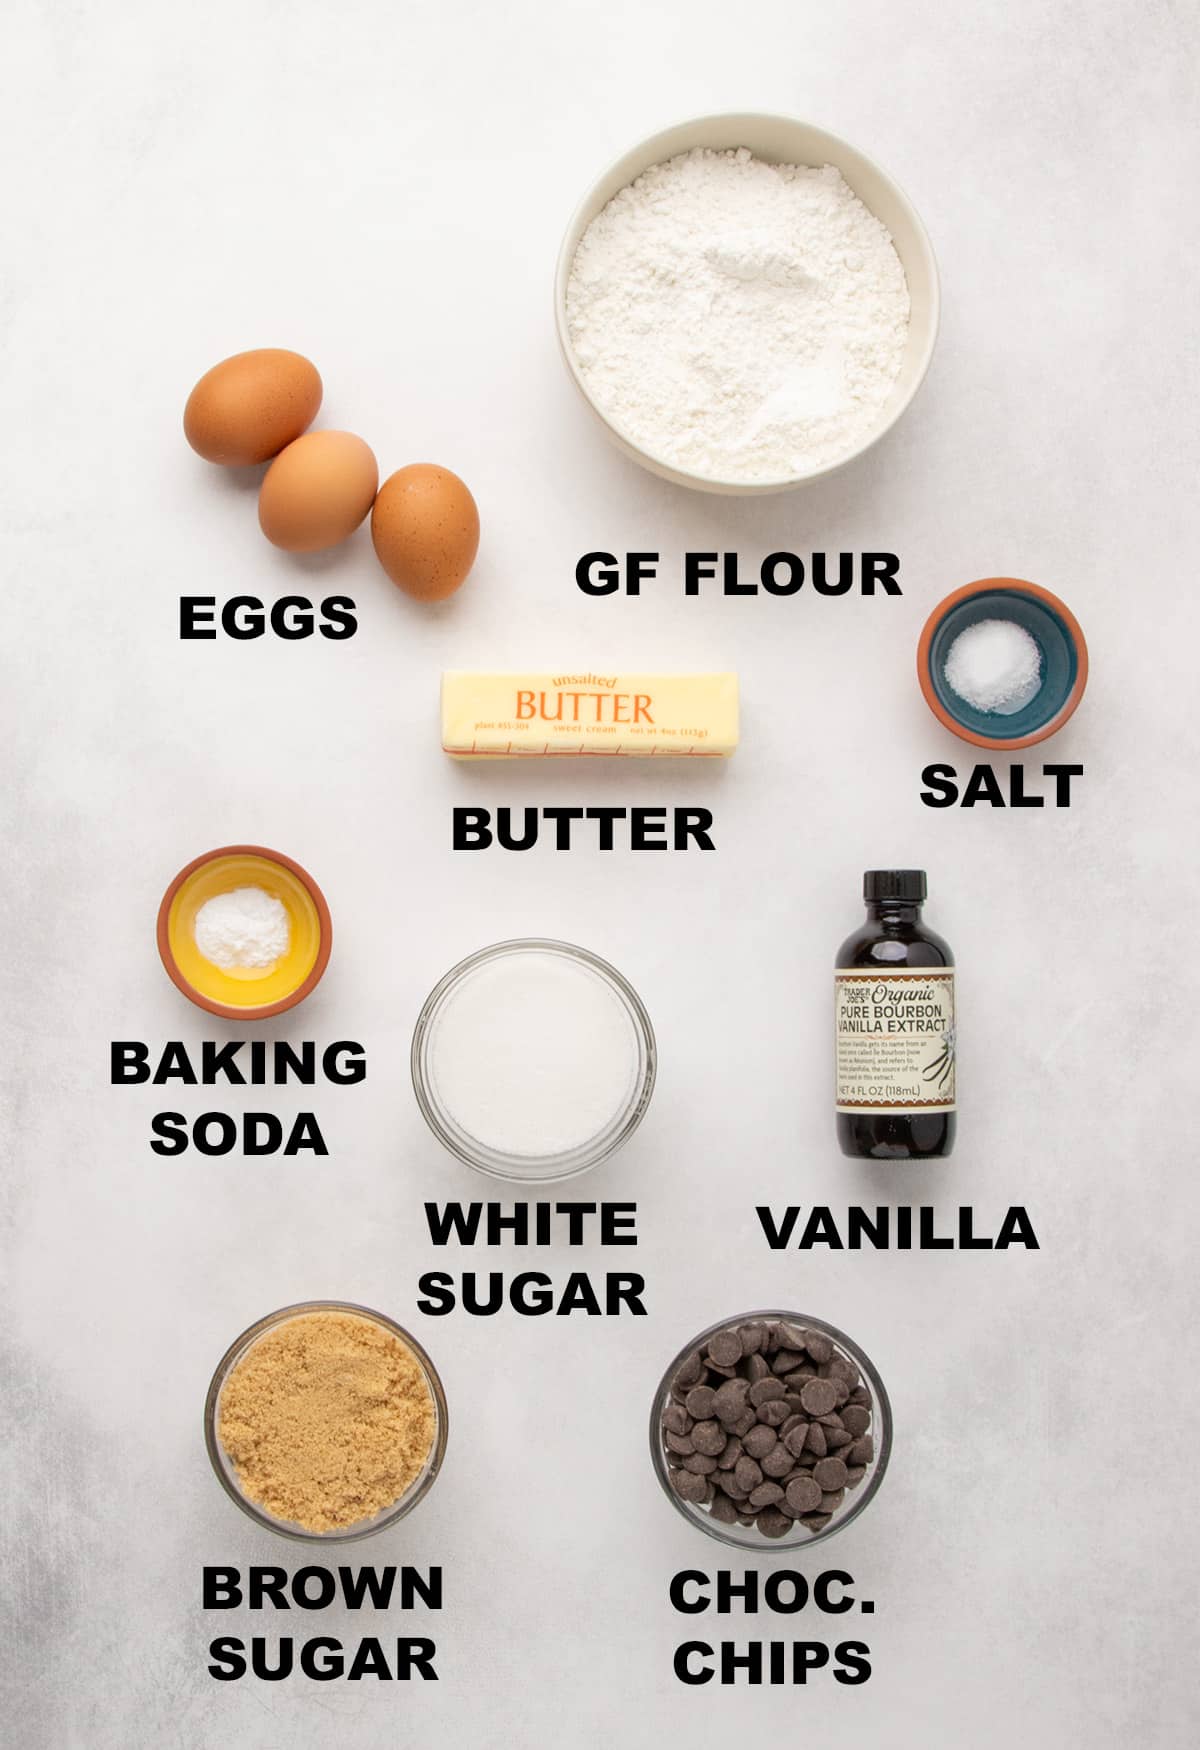
- Dairy-Free: The butter can be successfully substituted with high-quality, block-style vegan butter or a combination of non-hydrogenated vegetable shortening and vegan sticks.
- Egg-Free: For those with egg allergies, a "chia egg" (1 tablespoon of ground white chia seeds mixed with 2 tablespoons of water) serves as a functional binder, though it may result in a slightly less pronounced crackly crust.
- Corn-Free: Should you require a corn-free environment, replacing the cornstarch with an equivalent weight of arrowroot powder or potato starch maintains the desired tenderness without compromising the structural integrity of the bar.
Official Guidance on Gluten-Free Flours
The "Gold Standard" in gluten-free baking remains the flour blend itself. Not all gluten-free flours are created equal. Expert bakers recommend using established, high-performance blends such as "Better Batter" or specific multipurpose blends that include xanthan gum. If you prefer to create your own, ensure that your ratio of rice flour, starches (like potato or tapioca), and proteins is balanced to mimic the elasticity of wheat flour. Using a blend that is too heavy in rice flour will result in a sandy, gritty texture, whereas a blend with too much starch can make the final product gummy.
Implications: The Evolution of Gluten-Free Baking
The rise of the "cookie bar" format signifies a broader shift in the gluten-free culinary landscape. For years, the gluten-free movement was defined by "imitation"—attempting to recreate wheat-based products with varying degrees of success. Today, the focus has shifted toward optimization. By utilizing techniques like pan-baking, we are seeing a move toward recipes that are not just "good for gluten-free," but objectively excellent by any culinary standard.
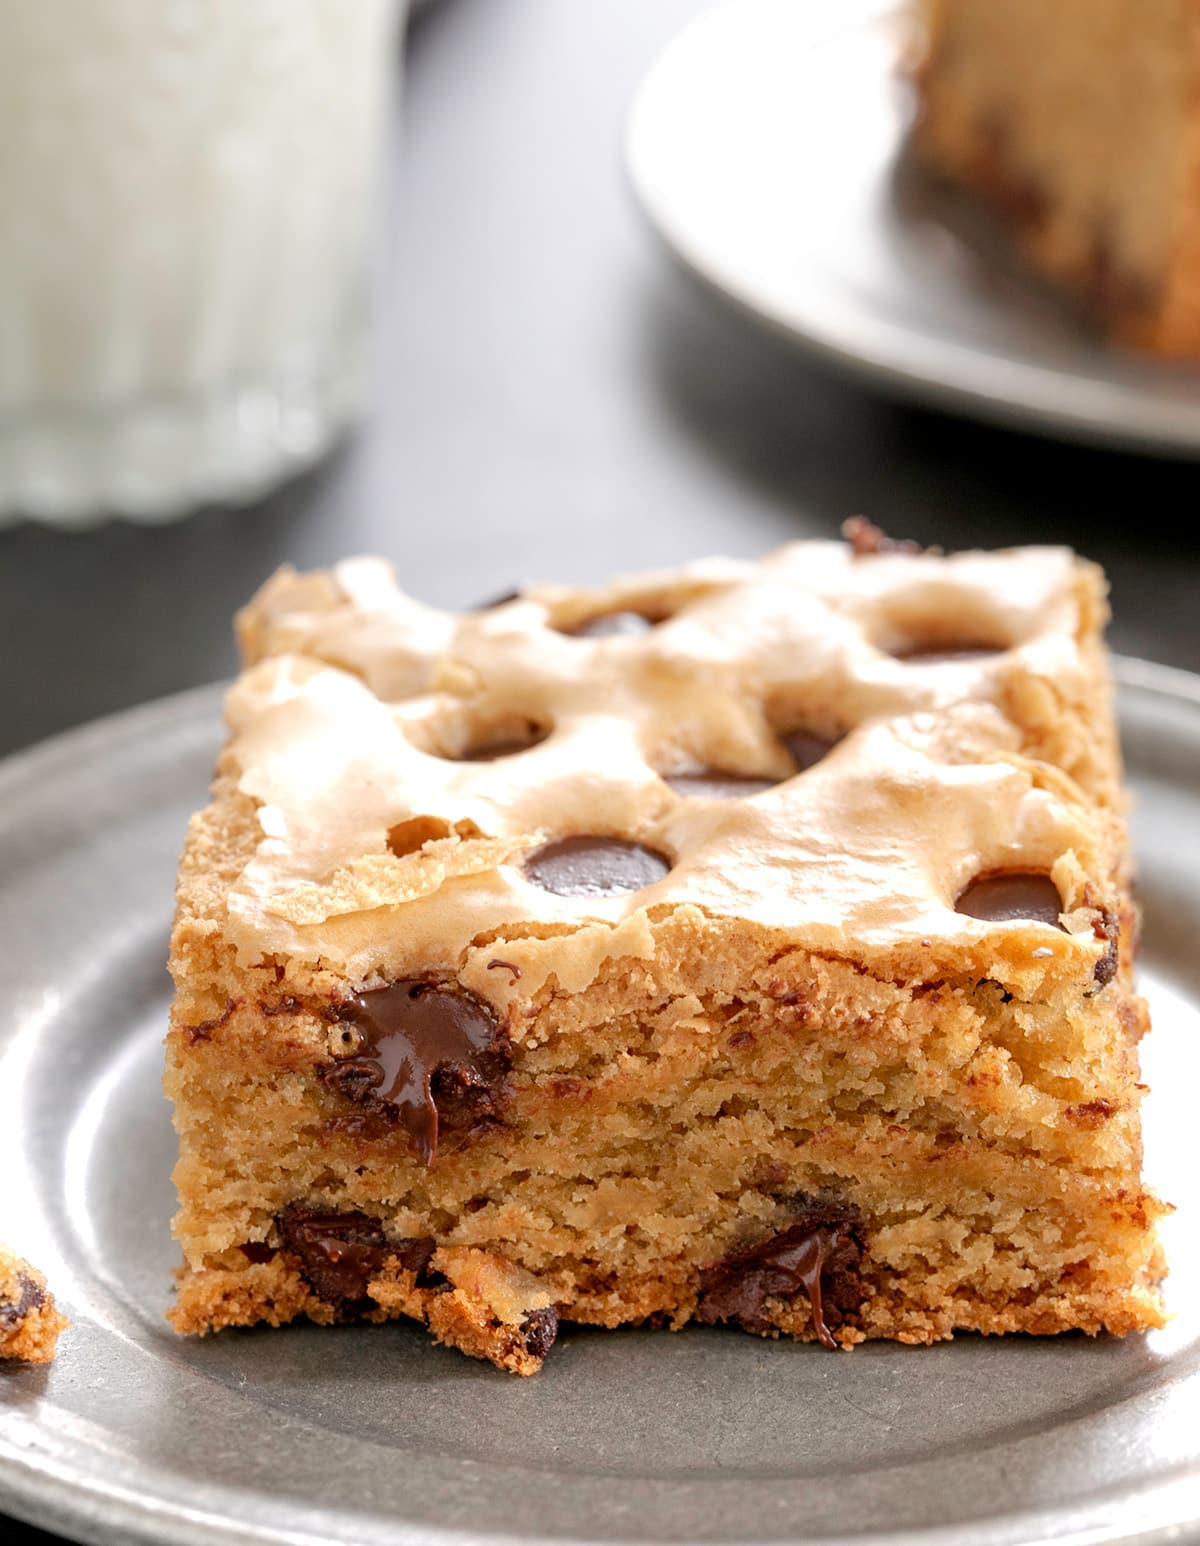
This evolution has profound implications for home bakers. By removing the need for individual shaping and consistent dough-ball sizing, the barrier to entry for creating high-quality, allergy-friendly desserts is significantly lowered. It proves that with the right technique—specifically, mastering the interaction between sugars and fats—bakers can achieve consistent, professional results without the specialized equipment or the stress of traditional cookie production.
Furthermore, the longevity of these bars—up to five days at room temperature or three months in the freezer—makes them an ideal staple for families who need to be prepared for school events, holidays, or spontaneous cravings. As the market for gluten-free ingredients continues to expand, the ability to produce these high-quality, reliable desserts at home becomes an empowering tool for those who refuse to let dietary restrictions dictate their quality of life.
Expert Tips for Success
- The Pan Choice: If you prefer a thinner, crispier bar, utilize a jelly roll pan (10×15 inches). Note that this reduces the bake time to approximately 30 minutes.
- The Foil Factor: Avoid standard parchment paper for this recipe, as the thick batter can cause it to shift. High-quality nonstick aluminum foil is the professional choice for ensuring an even, non-stick surface.
- The "Jiggle" Test: As with many delicate gluten-free bakes, visual cues are essential. The bars are finished when they no longer exhibit a liquid jiggle in the center, appearing set and uniformly golden.
In summary, the transition from individual cookies to the cookie bar format is a triumph of baking science. It honors the classic flavor profile of the chocolate chip cookie while adopting a structure that is more forgiving and easier to execute. Whether you are a seasoned baker or a newcomer to the gluten-free lifestyle, this method provides a reliable path to a dessert that satisfies the palate and respects the limitations of a gluten-free diet.