Mastering the Art of the "Pour Shot": A Professional Guide to Dynamic Food Photography
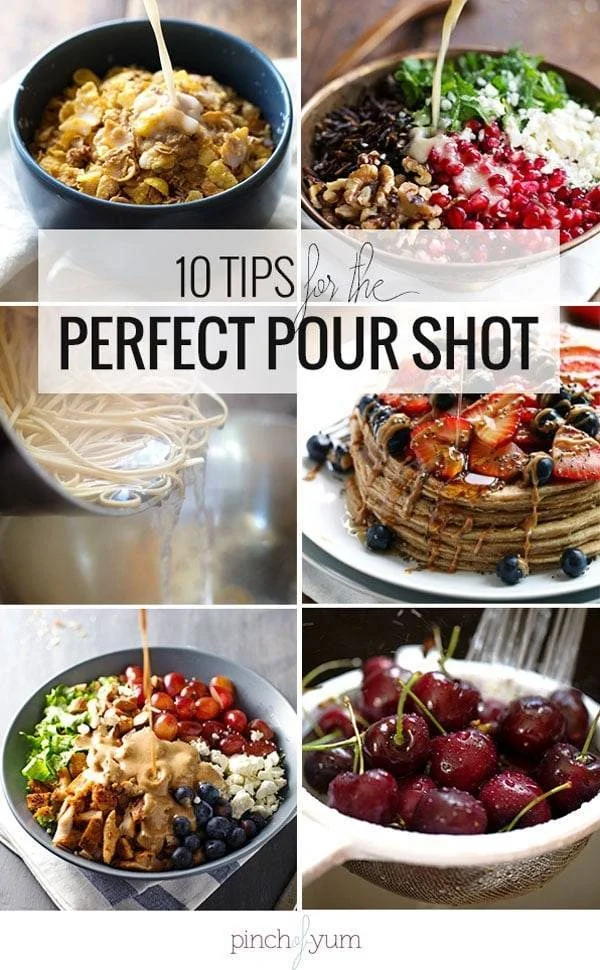
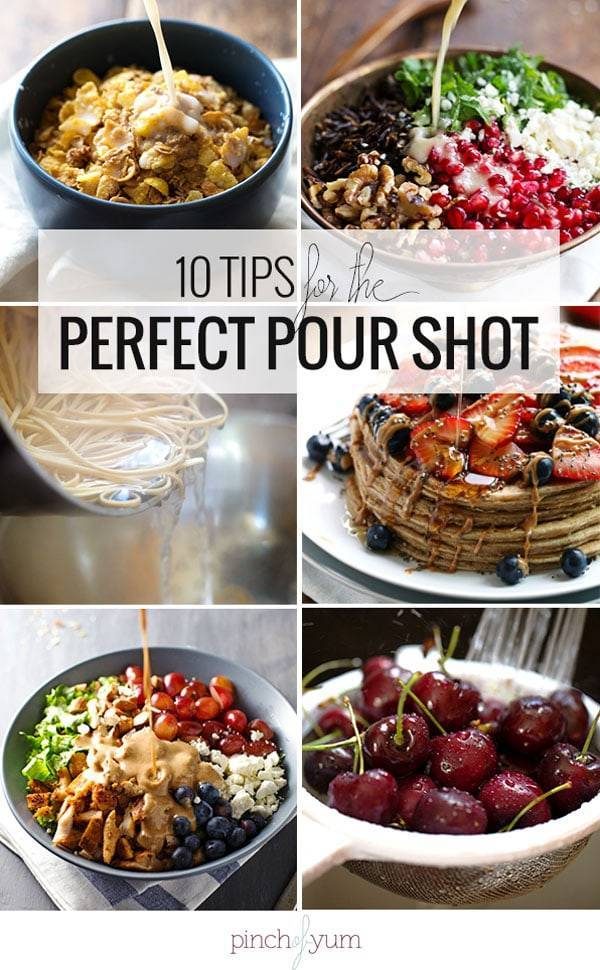
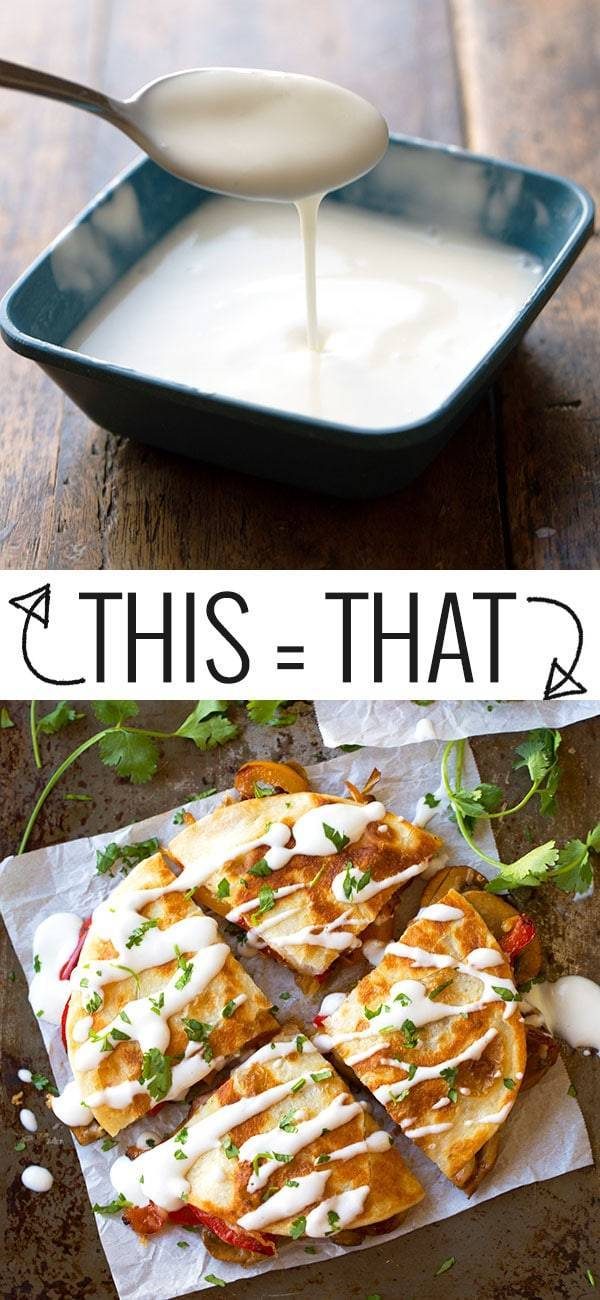
In the competitive world of food blogging and digital culinary content, the "pour shot"—the image capturing sauce, dressing, or milk mid-stream—has become the gold standard for engagement. These images offer a tactile, immersive experience, inviting the viewer to practically taste the dish. However, beneath the polished, glossy aesthetic of these photographs lies a reality of trial, error, and meticulous technical preparation.
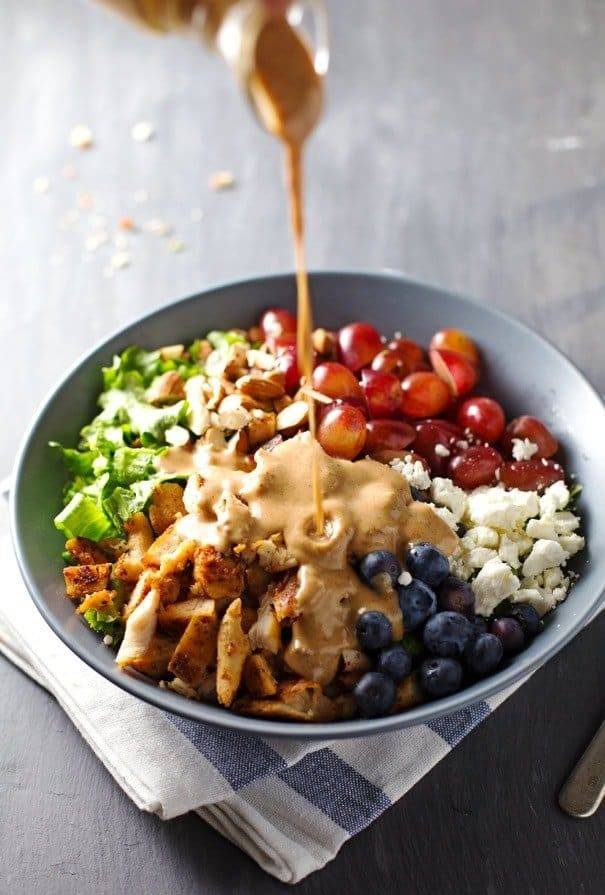
While influencers and professional photographers make the process look effortless, the reality is that a single, high-quality image often represents hundreds of discarded attempts. This article explores the technical nuances, strategic planning, and practical realities behind executing the perfect pour shot.
The Anatomy of a Pour Shot: Main Facts and Realities
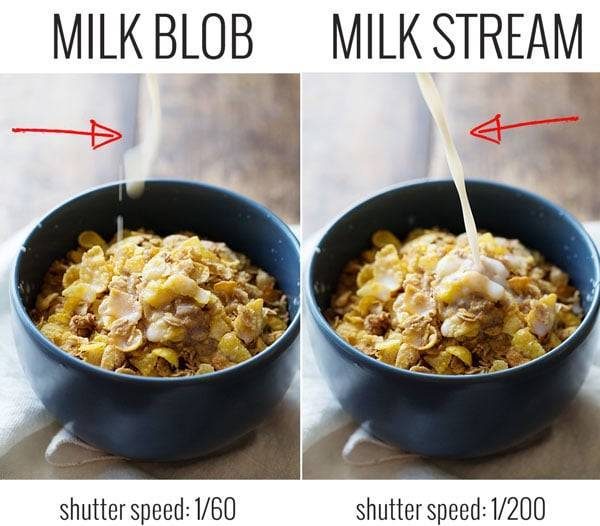
At its core, a successful pour shot is an exercise in controlling time and light. The primary challenge is the speed of gravity; liquids move in fractions of a second, and a camera’s standard settings are often insufficient to freeze that motion without creating a "blurry blob."
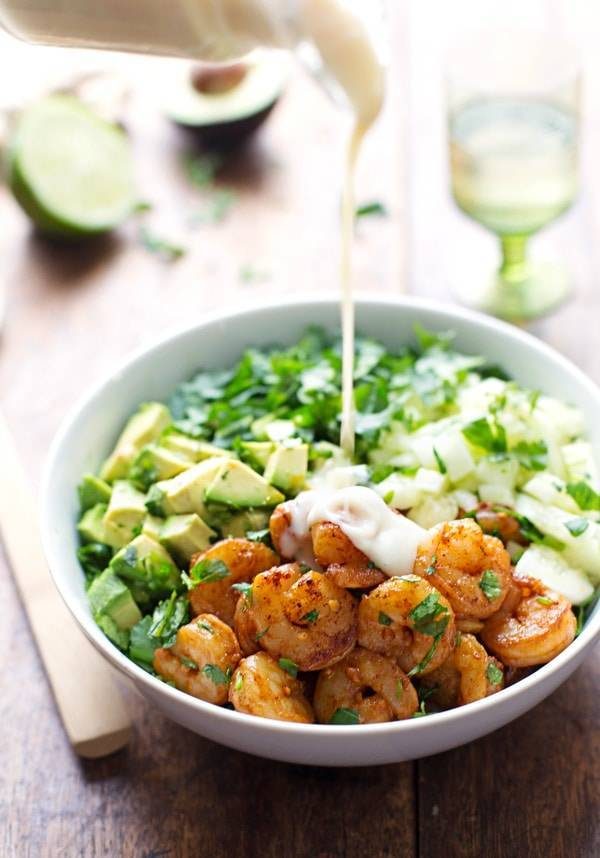
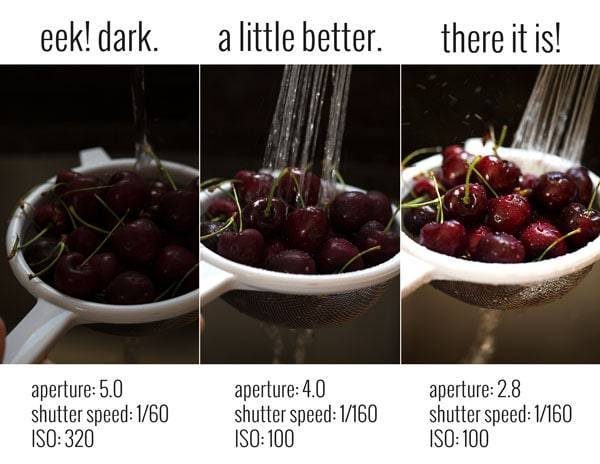
The industry consensus is that "pour shots" require a departure from standard food photography settings. Where a traditional static food image might be shot at a shutter speed of 1/60th of a second, a dynamic pour requires speeds of 1/200th of a second or faster to ensure the liquid appears crisp and defined. Without this adjustment, the image loses the sharp, appetizing texture that makes food content successful.
Chronology of a Professional Setup
Achieving a professional-grade pour shot requires a disciplined, step-by-step workflow. Experienced photographers generally follow a specific sequence to minimize waste and maximize success.
1. Equipment Selection and Preparation
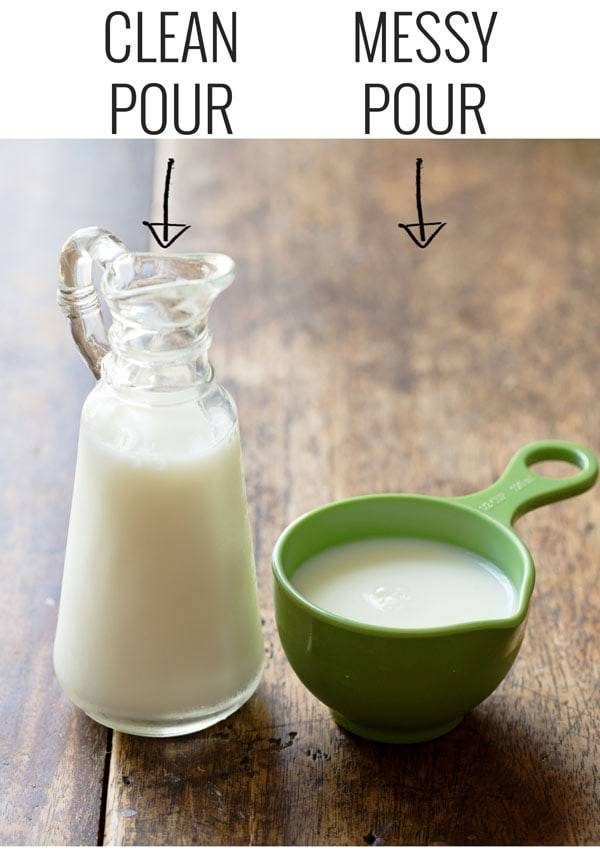
The process begins with the selection of the pouring vessel. Contrary to the intuition of many beginners, a standard measuring cup—while convenient—is rarely the optimal choice. The wide, shallow spout often results in a messy, uncontrolled stream. Professional results are best achieved with a tall, slender vessel with a narrow, defined spout. Furthermore, ensuring the handle is positioned for ambidextrous use is critical for maintaining balance during the pour.
2. Establishing the Focus Plane
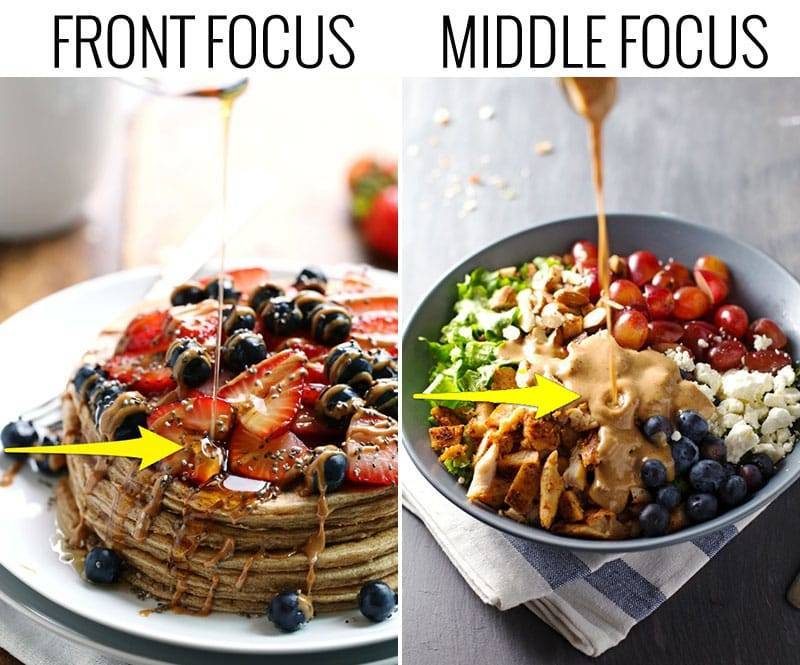
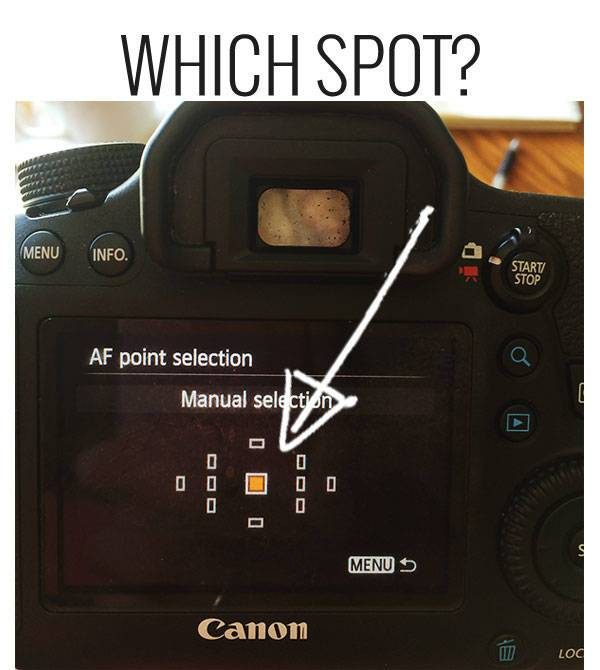
Before introducing the liquid, the photographer must establish a fixed focal point. By manually selecting the focal area on the camera, the user eliminates the risk of the autofocus "hunting" for the target while the liquid is in motion. This ensures the camera is locked onto the point of impact before the action begins.
3. Lighting and Composition
Because increasing shutter speed limits the amount of light entering the sensor, the photographer must compensate by adjusting the aperture or ISO. This requires a "shoot, check, adjust" loop. The environment must be carefully lit to highlight the texture of the sauce or liquid, often utilizing natural light or high-quality artificial softboxes.
Supporting Data: Why Technique Matters
The difference between a "blobby splat" and a professional stream is often found in the viscosity of the liquid. In professional food styling, sauces are frequently modified for the camera. For example, if a dressing is too thick, adding a small amount of water or thinning agent ensures a more graceful, aesthetic pour. This is a common industry secret: the food is styled for the lens, not necessarily for consumption.
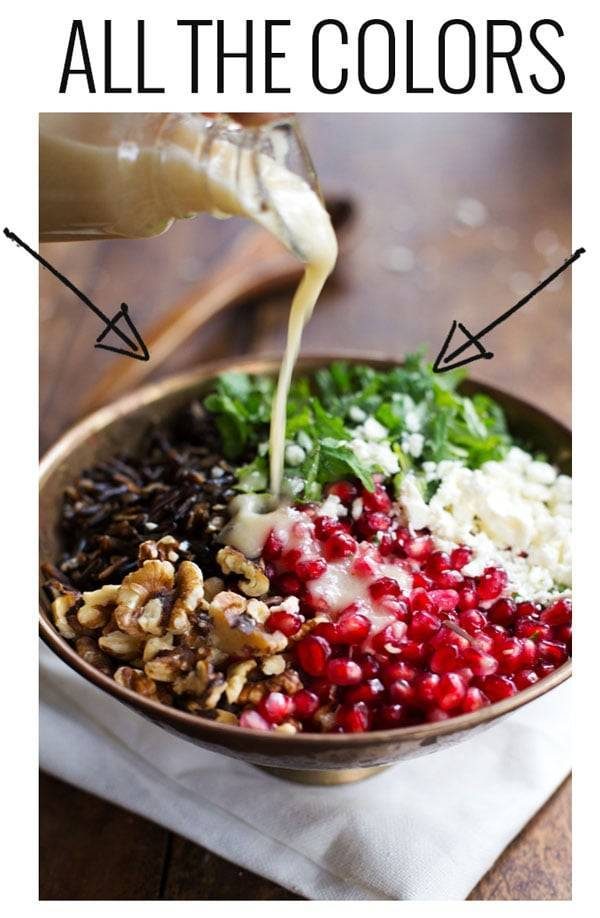
Furthermore, the environment of the shot plays a significant role. High-contrast backgrounds or ingredients ensure that the camera’s focus system can accurately track the movement. By placing the sauce against a background of varying colors and textures, the photographer creates a visual hierarchy that keeps the viewer’s eye focused on the most important element: the stream.
Professional Perspectives on Equipment: To Tripod or Not?
A frequent debate among food photographers concerns the use of a tripod.
- The Case for Tripods: A tripod is undeniably the most professional route. It allows the photographer to frame the shot, lock the focus, and use a remote shutter release. This setup effectively turns the photographer into a director, leaving their hands free to manage the pour with precision.
- The "Improvisational" Approach: Conversely, many high-traffic bloggers utilize an improvisational, hand-held method. This involves looking through the camera to frame the shot, then looking up to guide the pour manually. While this method is significantly more difficult and prone to error, it is favored by those who prefer an agile, fast-paced workflow.
Professional consensus suggests that for those just starting out, the stability of a tripod is non-negotiable. It allows the photographer to study the "arc" of the pour and make incremental adjustments to the angle of the vessel, which is nearly impossible to do while holding the camera.
Implications of Hand Placement and Human Elements
One of the most overlooked aspects of the pour shot is the inclusion of the human element. If the photographer’s hand is visible in the frame, it must be angled naturally. A common mistake is a "claw-like" grip or an awkward angle that distracts the viewer.
If the goal is to emphasize the food rather than the process, it is often better to crop the hand out of the frame entirely. However, if the hand is included, it should be positioned high enough to allow the viewer to see the stream clearly. The goal is to avoid the "creature of the night" aesthetic—where the hand appears as a dark, intrusive shadow—and instead aim for a clean, natural integration into the scene.
The Path to Mastery: Practice and Persistence
The most important takeaway for any aspiring food photographer is that expertise is built through repetition. The "800 bad shots for every one good shot" rule is not an exaggeration; it is a fundamental aspect of the learning curve.

Key Tips for Improvement:
- Practice with Water: Before wasting expensive ingredients or perfectly styled food, practice the mechanics of the pour with water. The physics of the stream remains the same regardless of the liquid.
- Understand Your Manual Settings: Moving away from "Auto" mode is the single most important step in professional development. Understanding how shutter speed, aperture, and ISO interact is the foundation of capturing motion.
- Analyze the Experts: When viewing professional photography, look past the food. Study where the stream hits the plate, the angle of the pour, and the depth of field.
- Document the Process: Keep a log of your settings. When you finally capture that "perfect" shot, review your metadata to understand exactly what combination of settings worked for that specific lighting and liquid density.
Conclusion
The pour shot is more than just a photograph; it is a deliberate manipulation of reality designed to evoke desire. It requires a marriage of culinary styling, technical camera proficiency, and the patience to endure hundreds of failures. Whether you choose to use a tripod or rely on the quick, hand-held maneuvers of a veteran blogger, the secret remains the same: preparation, understanding the physics of light and motion, and an unwavering commitment to practice.
As the digital landscape continues to prioritize high-quality, visually stimulating content, the ability to capture motion in food photography remains a vital skill. By applying these principles, photographers can elevate their work from simple documentation to a compelling, sensory experience that resonates with audiences worldwide. Remember, every master of the craft was once a beginner dealing with spilled sauces and blurry results. Keep pouring, keep shooting, and most importantly, keep practicing.